Quick Facts
- The "Dog's Hike" Rule: When you bring a canine partner, your goals (summits, mileage) become secondary to their safety and comfort.
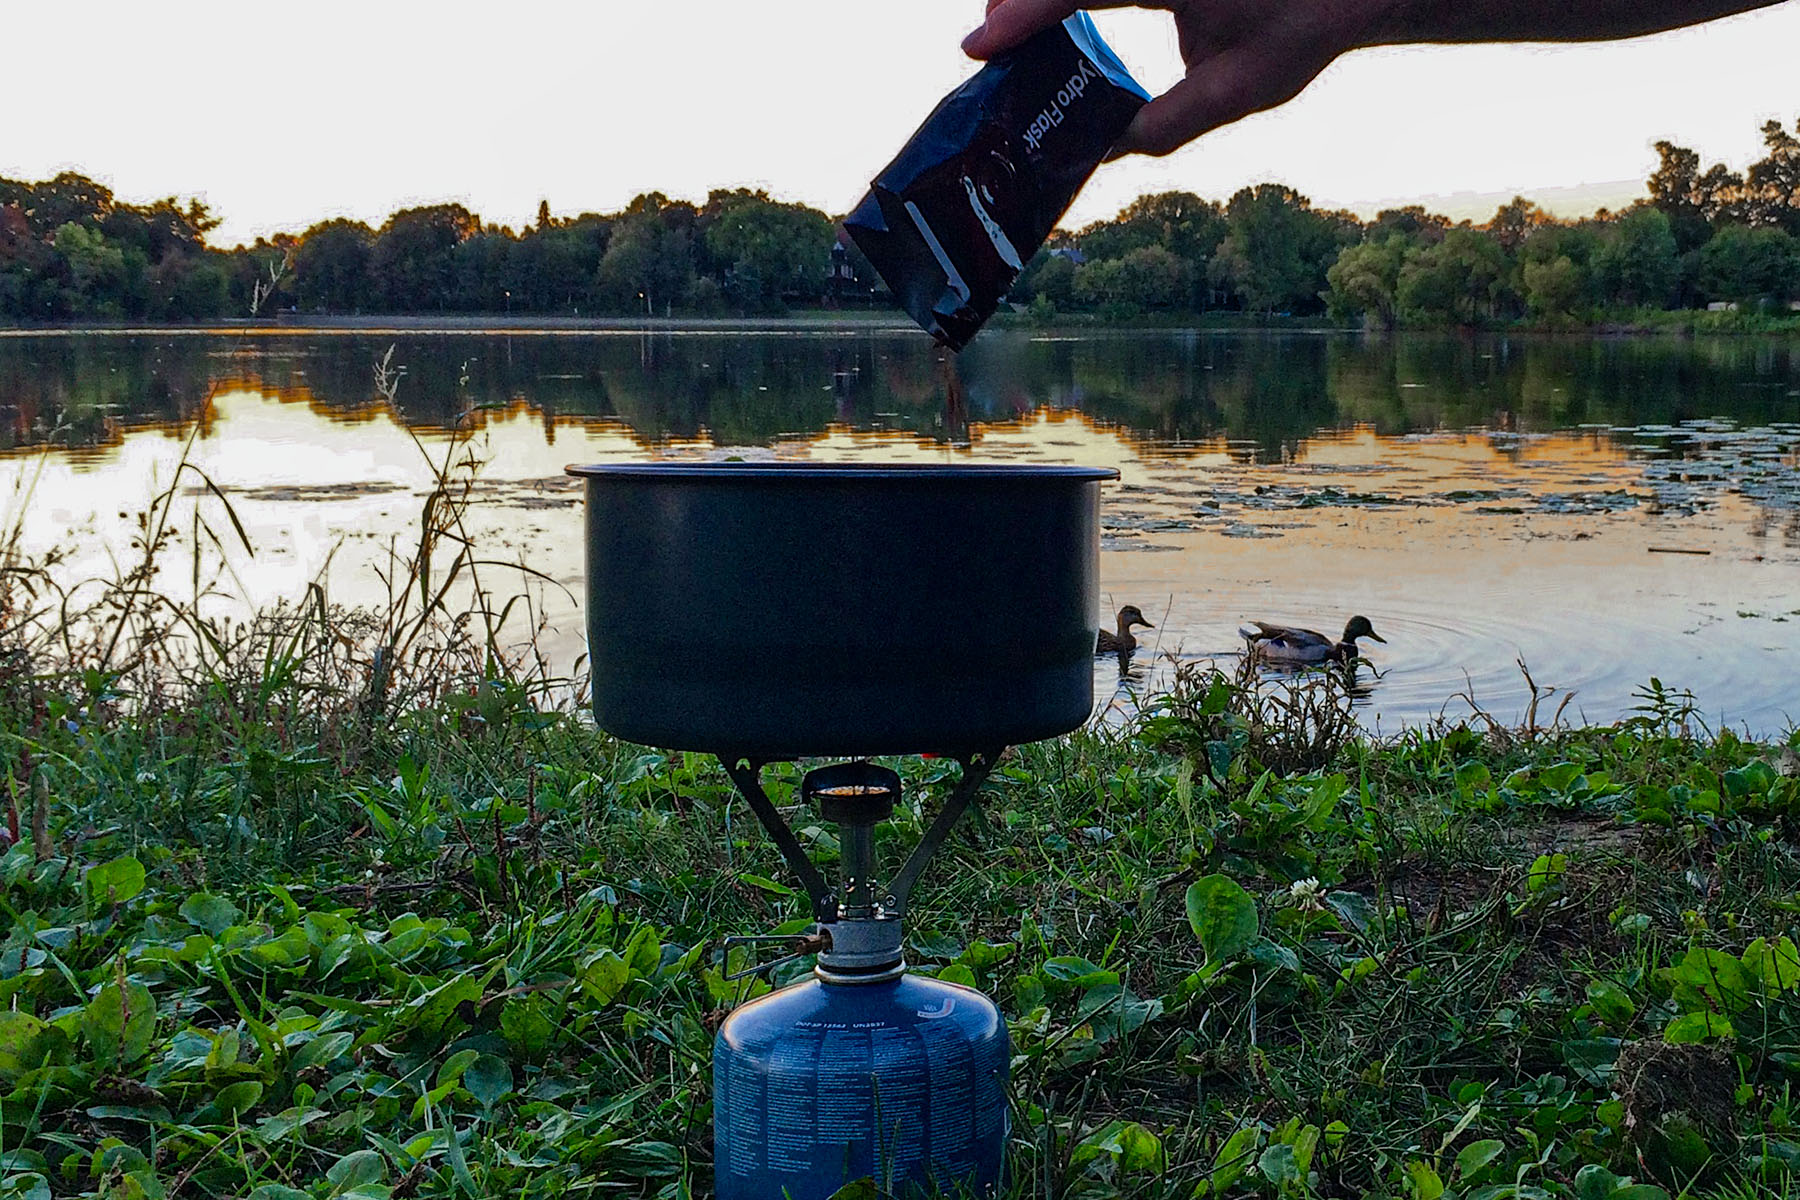
- The 8-Liter Standard: On dry stretches of 15 miles or more, a human-dog team may require up to 8 liters of water to stay safely hydrated.
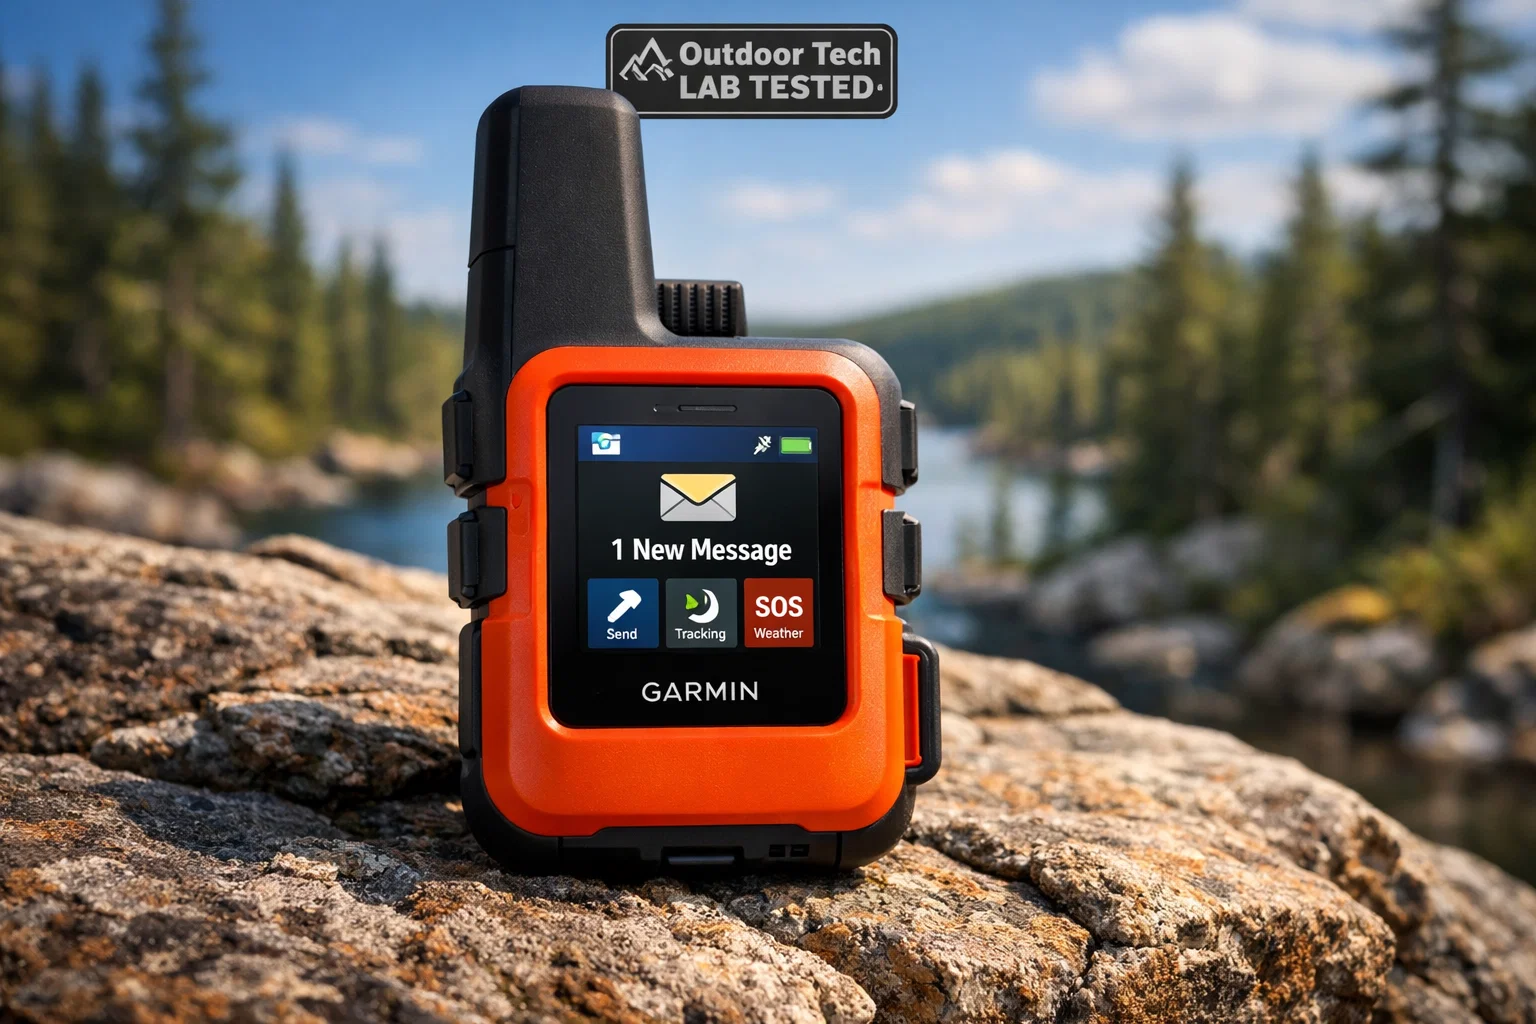
- Essential Safety Tech: GPS trackers like Garmin or Whistle are non-negotiable for backcountry work, as microchips only help after a dog is found.
- SAR-Grade Recovery: Always carry an emergency evacuation harness (like the Fido Pro) to carry your dog if they become immobilized.
Introduction: Why Your Dog’s Safety is My Top Priority
I’ve spent the last decade as a volunteer for a Search and Rescue (SAR) Dog Team in the rugged Tahoe area, navigating high-altitude granite and dense timber. Over those ten years and more than 1,000 miles of backcountry trekking with my canine partners, I’ve seen it all—from heat exhaustion on exposed ridgelines to shredded paw pads three days from the nearest trailhead.
The most important lesson I can share isn't about the coolest tech or the best snacks; it’s a shift in mindset. When you hike with your dog, it is no longer your hike—it’s theirs. You are the expedition leader, the medic, and the logistics coordinator. If you’re pushing for a summit but your dog is flagging, the summit no longer exists. My goal is to give you the professional-grade protocols we use in SAR to ensure every adventure ends with a wagging tail at the trailhead.
Phase 1: Pre-Trail Preparation
Before we even tighten the laces on our boots, the work begins at home. I’ve seen too many hikers take a "weekend warrior" approach with their dogs, leading to preventable injuries. Physical conditioning is a slow burn. You wouldn't run a marathon without training, and you shouldn't expect your dog to handle a 10-mile scramble with 3,000 feet of gain if they only walk around the block.
Choose your route based on the team member in the "worst" condition. In many cases, especially in high heat or technical terrain, that’s the dog. Beyond fitness, your training must include "life-saving commands." In the backcountry, a rock-solid "Leave It" can be the difference between a curious sniff and a rattlesnake bite. Similarly, "Drop It" is essential for when they find that "delicious" (and potentially toxic) piece of forest floor debris.
Logistics matter too. Use apps like AllTrails or Gaia GPS to research surface types. Granite is a literal cheese-grater for unconditioned paw pads, and dark volcanic rock can reach temperatures exceeding 140°F in direct sun. If the ground is too hot for the back of your hand, it's too hot for their paws.
Phase 2: The SAR-Approved Gear Checklist
In the SAR world, our gear is our lifeline. For a casual hiker, the stakes are just as high when you're five miles into the wilderness. Standard collars are a no-go for technical hiking; if a dog slips on a ledge, a collar can cause tracheal damage. I always recommend a high-quality harness with a sturdy "lift" handle.
Expert Tip: After 10 years on a Tahoe SAR team, I’ve learned that a handle isn't just for help over logs; it’s your primary control point during an emergency or wildlife encounter.
The Backcountry Essentials Checklist
- [ ] Ruffwear Web Master Harness: The gold standard for security; it’s nearly impossible for a dog to back out of this.
- [ ] Hands-Free Leash: A waist-attached leash (like the Ruffwear Roamer) allows you to use trekking poles for balance while staying connected to your dog.
- [ ] GPS Tracker: Devices like Garmin or Whistle are vital. Remember, a microchip is a passive recovery tool; a GPS is an active one.
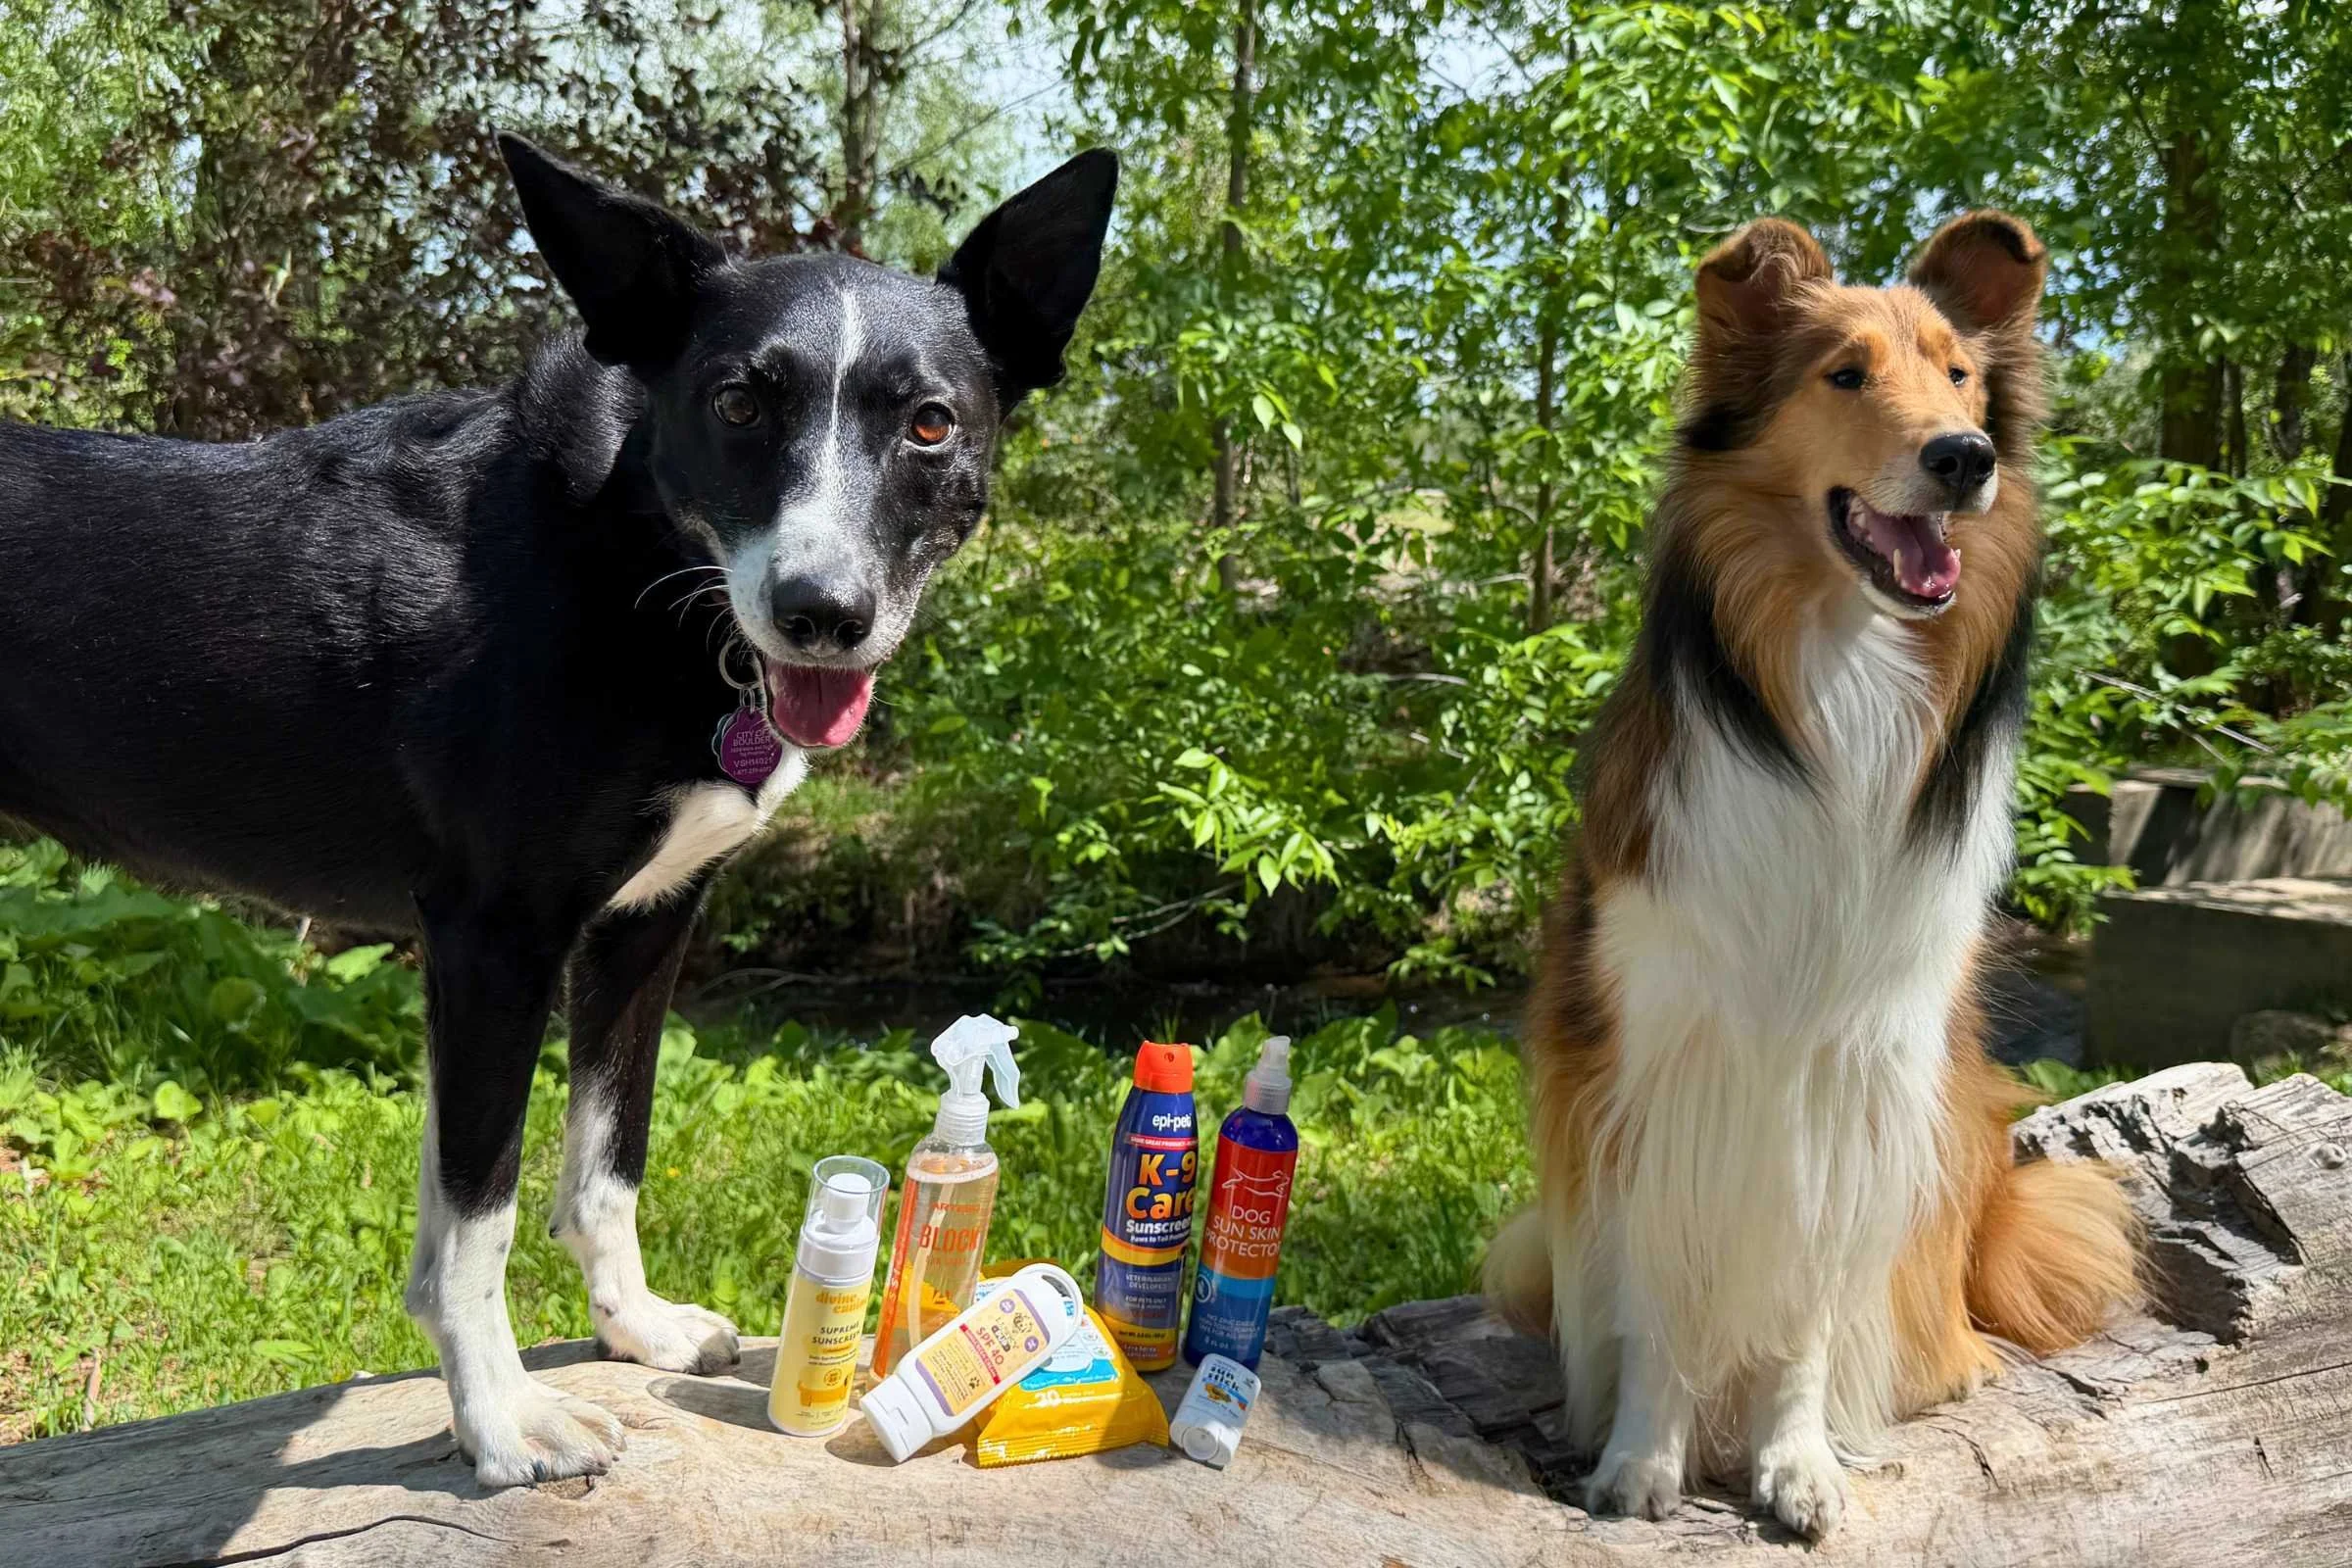
- [ ] Collapsible Water Bowl: Lightweight and easy to clip to the outside of a pack.
- [ ] Dog Booties: Keep a set of Grip Trex in your pack for jagged scree fields or hot sand.
- [ ] Emergency Evacuation Harness: If your 70lb Lab tears a CCL, you cannot carry them in your arms for five miles. An Airlift by Fido Pro is mandatory gear in my pack.
Phase 3: Hydration and Heat Management
Heatstroke is the leading cause of preventable dog deaths on the trail. Dogs don't sweat like we do; they rely on panting and heat exchange through their paws. If the air is hot and the ground is hotter, they are effectively trapped in a convection oven.
In the Tahoe backcountry, we follow the "Summit by Noon" protocol. This means being off the exposed ridges and back under the canopy before the midday sun hits its peak. During dry stretches, you need to be a water miser—for yourself and your dog.
Expert Tip: Based on my experience, for a 15-mile trek in dry conditions, I carry up to 8 liters of water for the dog/human team. It’s heavy, but dehydration is a one-way trip to a SAR call.
Heatstroke Signs vs. Normal Fatigue
| Symptom | Normal Fatigue | Heatstroke (Emergency!) |
|---|---|---|
| Panting | Heavy but rhythmic | Excessive, frantic, "wide" tongue |
| Gums | Moist and pink | Dark red, purple, or blue; "tacky" feel |
| Mobility | Slowing down, seeking shade | Staggering, collapsing, or glassed-eye look |
| Saliva | Normal | Thick, ropey, or excessive drooling |
If you suspect heatstroke, stop immediately. Move to shade, apply cool (not ice-cold) water to their paws and belly, and offer small sips of water. Do not douse them in ice water, as this can cause blood vessels to constrict and actually trap heat in the core.
Phase 4: Backcountry First Aid & SAR Protocols
In the SAR world, we prepare for the "What If." If your dog gets a deep laceration from a sharp branch, you need to be able to stabilize them until you reach a vet. My first aid kit always includes Co-Flex self-adhesive bandages—they don't stick to fur, which is a lifesaver when you're trying to wrap a bloody paw in the wind.
Another pro tip: Medical honey (Manuka). It’s a natural antiseptic that stays stable in high temperatures and is safe if the dog licks it. I also carry a lightweight mesh muzzle. Even the sweetest dog may bite when they are in extreme pain from an injury.
Finally, always keep an Emergency Note tucked into a pocket of your dog’s harness. It should list your name, contact info, the dog's medical needs, and your planned route. If you are incapacitated, that note tells rescuers exactly who the dog is and where you were headed.
Phase 5: Trail Etiquette & Leave No Trace
Being a responsible outdoorsman means respecting the ecosystem. This is why I advocate for the "Poop Caddy" solution. Leaving dog waste on the trail isn't just gross; it introduces non-native bacteria and nitrogen into the soil, which can disrupt local flora. Use a dedicated hard-sided container (like a repurposed Nalgene) to pack it out.
When it comes to wildlife, the rule is simple: No chasing. Even a "playful" chase can stress a deer to the point of exhaustion or lead your dog into the path of a protective bear or mountain lion. In many backcountry areas, a 6-foot leash is a legal requirement for this very reason.
Phase 6: Post-Hike Recovery
The hike isn't over when you reach the car. I perform a "Full Body Scan" after every expedition.
- Tick Check: Run your hands against the grain of the fur, focusing on the ears, armpits, and between the toes.
- Paw Inspection: Check for "hidden" thorns or small cracks in the pads.
- Hydration Check: Ensure they are drinking and urinating normally.
If your dog is unusually lethargic the next day or refuses food, it’s time for a vet checkup. Recovery is just as important as the hike itself. Give them a dedicated rest day (no long walks) for every day spent in the backcountry.
FAQ
What gear is essential for hiking with a dog? The "Big Five" for any backcountry dog are: a high-quality harness with a handle, a hands-free leash, a GPS tracker (Garmin/Whistle), a collapsible water bowl, and an emergency evacuation harness. These items cover control, navigation, recovery, and hydration.
How do you prepare for a dog injury in the backcountry? Preparation involves both skills and gear. Carry a dog-specific first aid kit with Co-Flex bandages and medical honey. Most importantly, carry an emergency evacuation harness. If your dog cannot walk, you must have a way to carry them on your back; otherwise, you'll be forced to leave them or wait for a SAR team.
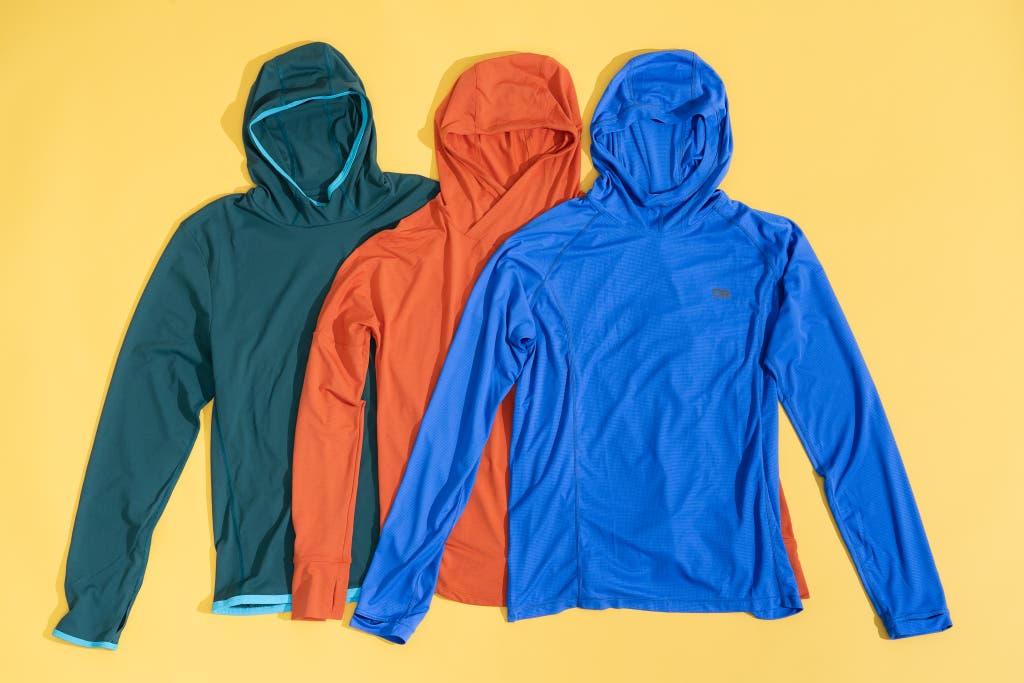
What are the best tips for keeping a dog cool while hiking? Stick to the "Summit by Noon" rule to avoid peak heat. Use a water-activated cooling vest (like the Ruffwear Swamp Cooler), which uses evaporative cooling to pull heat away from the dog’s body. Take frequent breaks in deep shade and always check the ground temperature with your hand.
Conclusion
Hiking with your dog is one of the most rewarding ways to experience the wild, but it comes with a heavy dose of responsibility. By adopting an SAR mindset—prioritizing preparation over ego and gear over guesswork—you ensure that your best friend stays safe, healthy, and ready for the next peak.
So, grab the harness, fill the reservoirs, and I’ll see you and your pup on the trail. Stay safe out there!