There is a specific kind of magic that only happens at 6:00 AM in the backcountry. The air is crisp enough to see your breath, the frost is still clinging to the rainfly, and the only thing standing between you and a 12-mile summit push is a hot cup of caffeine. I’ve brewed coffee in the middle of a Saharan sandstorm and on the frigid slopes of the Cascades, and if there’s one thing I’ve learned, it’s that a bad cup of camp coffee is a choice, not a necessity.
Whether you’re a gram-counting ultralight hiker or a car camper who prioritizes the perfect crema, the "modern" trail coffee scene of 2026 has evolved. We aren't just drinking "brown water" anymore; we are dialing in extractions under the open sky. The simplest way to make coffee while camping remains the 'Cowboy Coffee' method—boiling grounds directly in a pot and letting them settle naturally. However, if you want to elevate that morning ritual, a few DIY hacks and precision tools can turn a survival drink into a five-star experience.
Section 1: The Minimalist DIY Hacks (No Special Gear Required)
When I’m deep in the wilderness and my gear list is stripped to the essentials, I don't want to carry a bulky machine. This is where the "dirtbag" genius comes into play.
1. The Cowboy Method: Rugged Simplicity
Forget the fancy gadgets. The Cowboy Method is the ultimate low-tech solution. You simply boil water in your pot, remove it from the heat, and stir in your grounds. But here is the pro-tip to avoid bitterness: Let your boiling water sit for 30 seconds to reach the ideal brewing temperature of approximately 200°F. If you pour boiling water directly onto the beans, you’ll scald them, resulting in a burnt, acrid taste.
To solve the "mouthful of grit" problem, use the cold water splash trick: once the coffee has steeped for four minutes, splash a tablespoon of cold water into the pot. This creates a temperature differential that sends the grounds sinking to the bottom, allowing you to pour a clean cup.
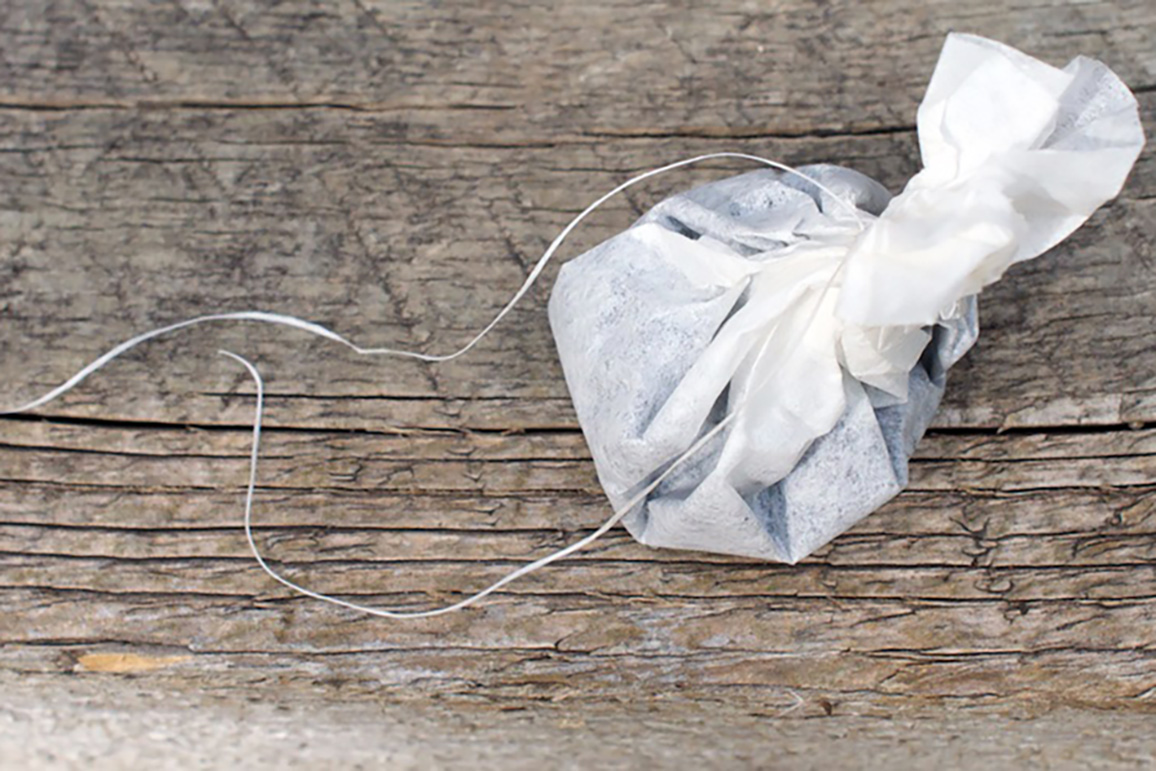
2. The DIY Coffee Bag (The ‘Tea Bag’ Hack)
If you want the convenience of instant coffee but the flavor of a fresh roast, this is your golden ticket. At home, take a standard paper filter, place 15 grams of medium-grind coffee in the center, and tie it shut with a piece of unflavored dental floss.
This DIY coffee bag is a weightless, waste-minimal solution for minimalist backpackers. On the trail, you simply steep it in your mug like a tea bag. No mess, no specialized gear, and you can pack the used "pods" out in a small Ziploc bag.
3. The Hanky or Sock Filter
We’ve all been there—you forgot the filters or the AeroPress cap. In an emergency, a clean cotton handkerchief (or even a clean wool sock if you’re desperate) serves as a surprisingly effective filter. Drape it over your mug, secure it with a rubber band or your hand, and pour your hot water through the grounds. Just be sure to rinse the fabric thoroughly afterward; coffee oils can go rancid if left in the fibers, which is definitely not the "flavor profile" you want on your next trip.
Section 2: Precision Brewing for the Outdoor Connoisseur
For those who believe that life is too short for mediocre coffee, even at 10,000 feet, 2026 has brought some incredible gear to the table. This is where we move from "hacking it" to "mastering it."
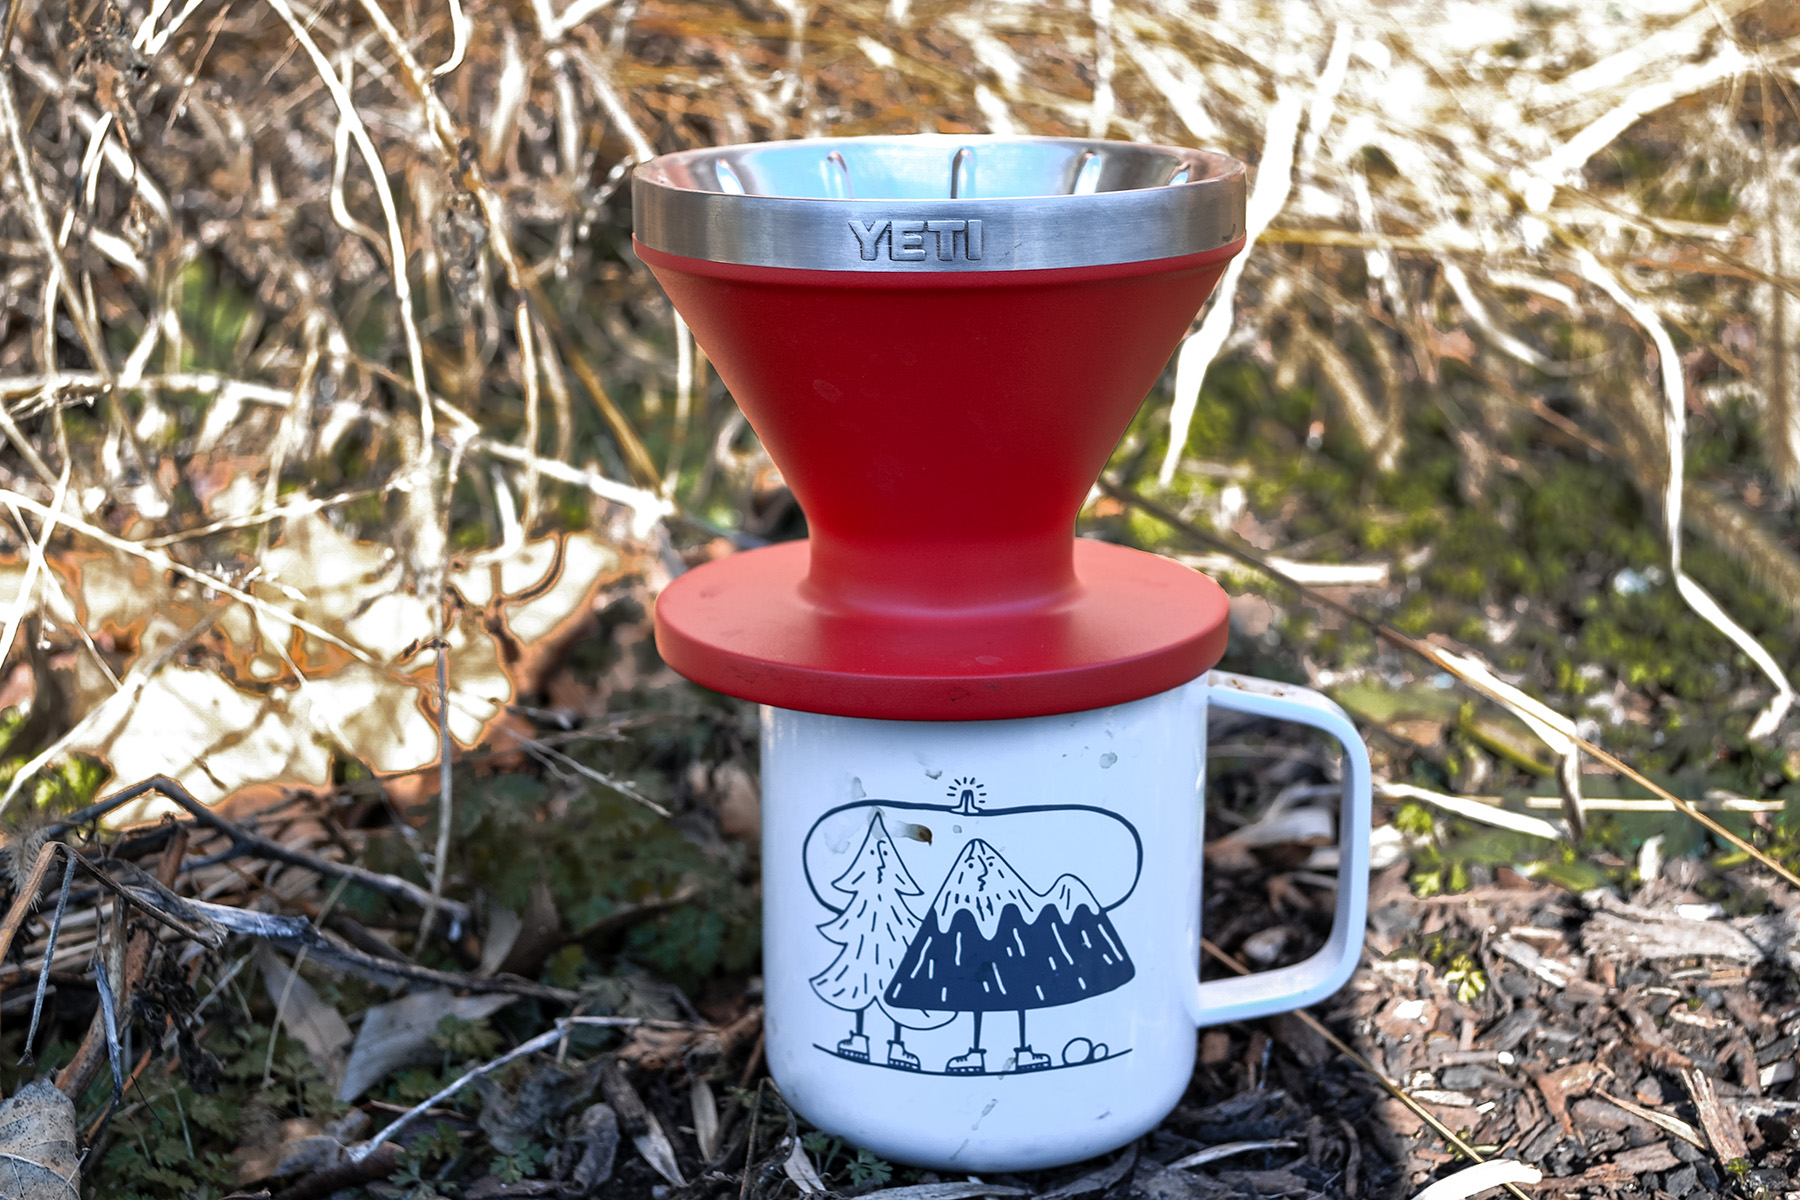
4. Lightweight Pour-Overs: Control in Your Pocket
The pour-over is the purist's choice. It allows for a "bloom"—the release of CO2 from fresh grounds—which opens up the flavor profile of the bean. For the optimal flavor extraction in the outdoors, I recommend a water-to-coffee ratio of 16:1, requiring approximately 15 grams of coffee grounds for a standard 8-ounce camp mug.
Modern tech like the Sea to Summit X-Brew has revolutionized this. It weighs a mere 82g and collapses to a 20mm profile, meaning it takes up almost zero space in your pack. If you’re a fan of high-quality aesthetics and ruggedness, the Yeti and MiiR Pourigami models are top-tier alternatives that provide incredible stability on uneven surfaces.
5. The AeroPress Go: The Gold Standard for Versatility
If you asked ten outdoor editors what they use, at least seven would say the AeroPress. It’s nearly indestructible and utilizes pressure to create a rich, espresso-like concentrate or a clean Americano in under two minutes. The cleanup is its best feature; you simply "plunge" the puck of grounds into your trash bag or a designated waste container, leaving the device virtually clean.
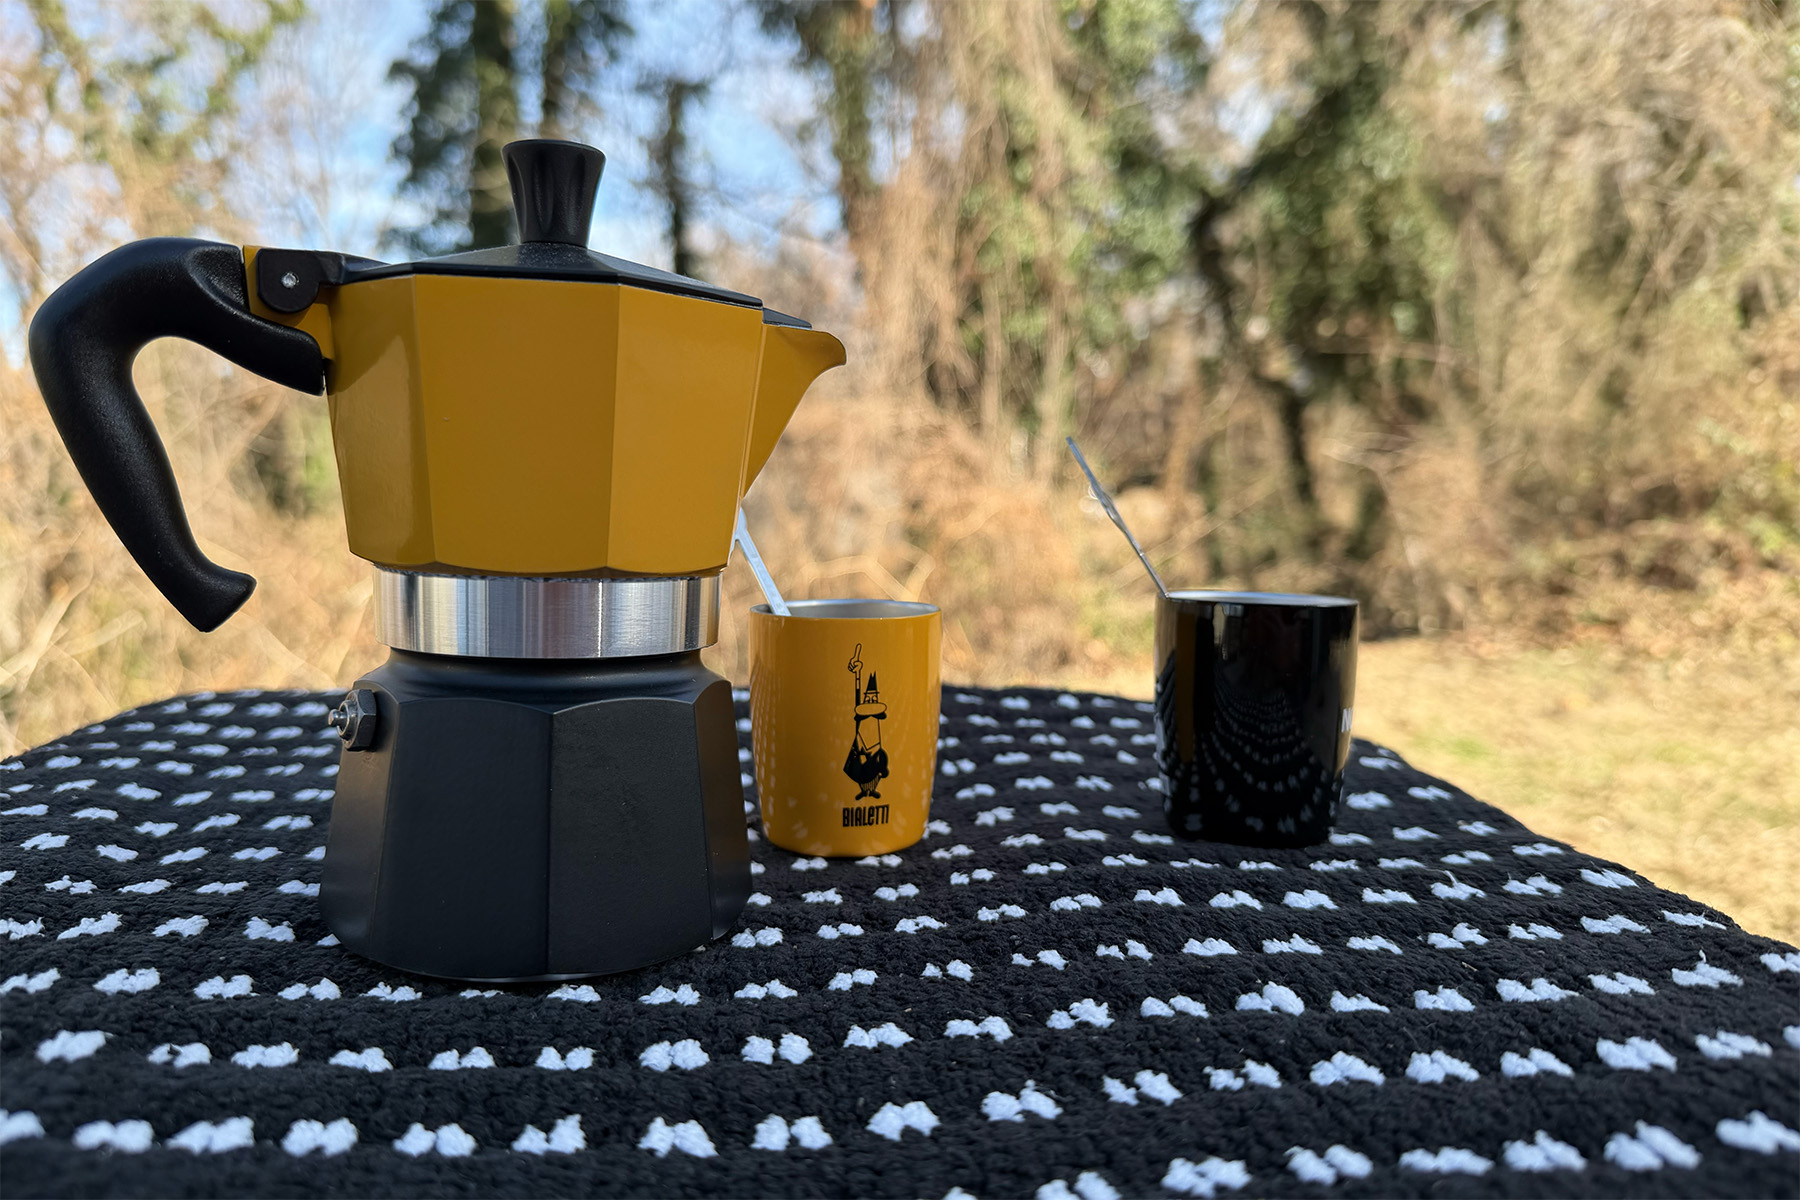
6. The Portable French Press
When I’m car camping or at a base camp with a group, I reach for the French Press. It’s the "set and forget" method. However, traditional glass presses are a disaster waiting to happen in the backcountry. Look for vacuum-insulated stainless steel versions like the Yeti Rambler or Stanley Classic. They keep the coffee hot for hours—essential if you’re distracted by a sunrise or a wandering moose.
Brewing Method Comparison Table (2026 Ratings)
| Method | Weight | Brew Time | Flavor Quality | Best For |
|---|---|---|---|---|
| Cowboy | 0g (Gearless) | 5-6 mins | Bold / Gritty | Emergency / Minimalist |
| DIY Coffee Bag | 1g | 4 mins | Balanced | Ultralight Backpacking |
| X-Brew Pour-Over | 82g | 3 mins | Bright / Clean | Flavor Enthusiasts |
| AeroPress Go | 318g | 2 mins | Rich / Intense | Daily Trail Use |
| French Press | 600g+ | 5 mins | Full-Bodied | Car Camping / Groups |
Section 3: The 2026 Espresso & High-Tech Evolution
We are living in the golden age of trail espresso. You no longer need a 220V outlet to get 18 bars of pressure.
7. Portable Espresso Machines
Portable espresso makers like the Wacaco Nanopresso or the Staresso Classic have become staples for the "luxury" hiker. These hand-pumped devices create a genuine crema that rivals your local barista. If you really want to live in the future, the Outin Nano now features self-heating capabilities, allowing you to use cold water and still get a hot shot of espresso.
For a more old-school approach, the classic Moka pot is still a champion of the camp stove, providing that heavy, syrupy hit of caffeine that powers you through a summit push.
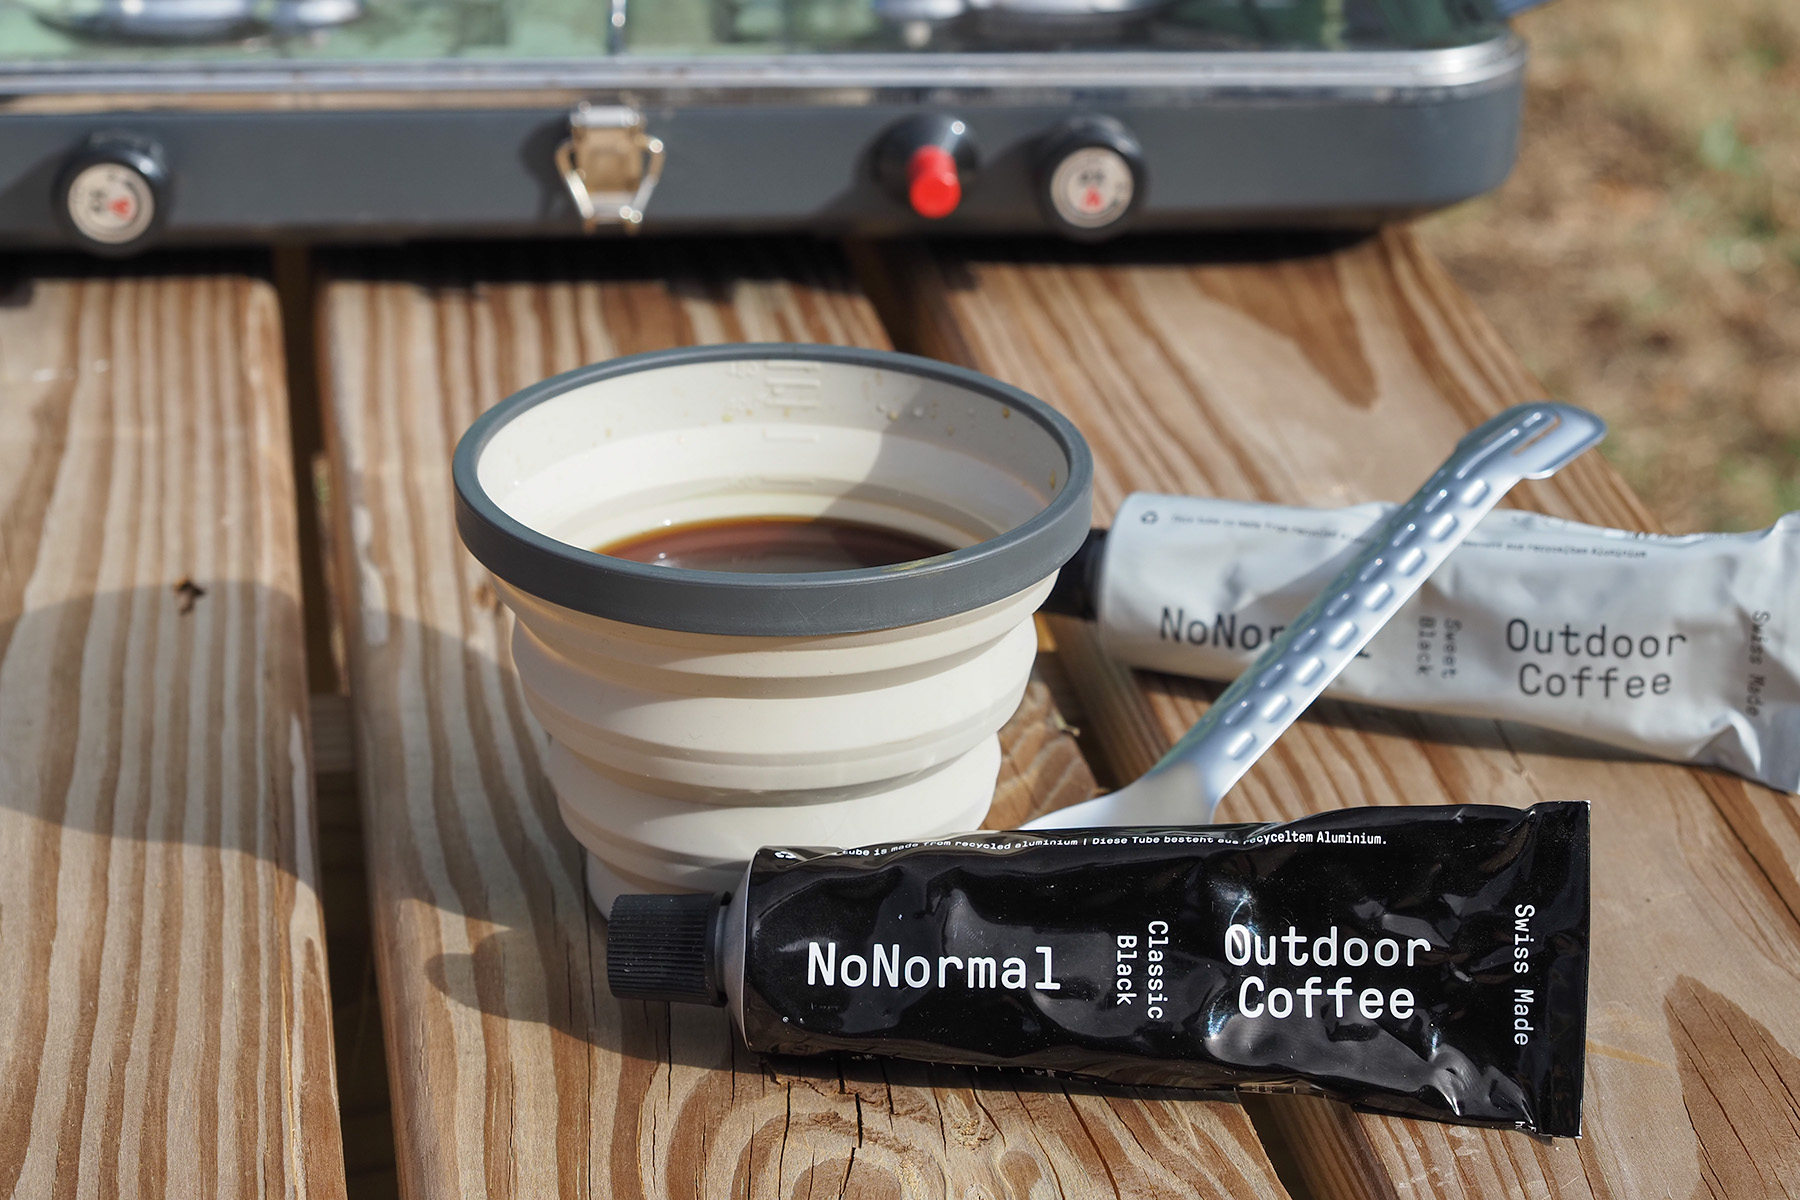
8. Coffee Paste and Concentrates
New for the 2026 season is the rise of coffee "pastes" like the NoNormal brand. These are concentrated coffee tubes that you can squeeze into hot water or even spread on a piece of trail bread. While purists might scoff, when you’re hanging off a portaledge or stuck in a whiteout, having an instant, high-quality caffeine hit without the need for a stove is a literal lifesaver.
Section 4: Essential Camp Coffee Accessories
The method is only half the battle. To truly master the morning brew, you need to think about the periphery.
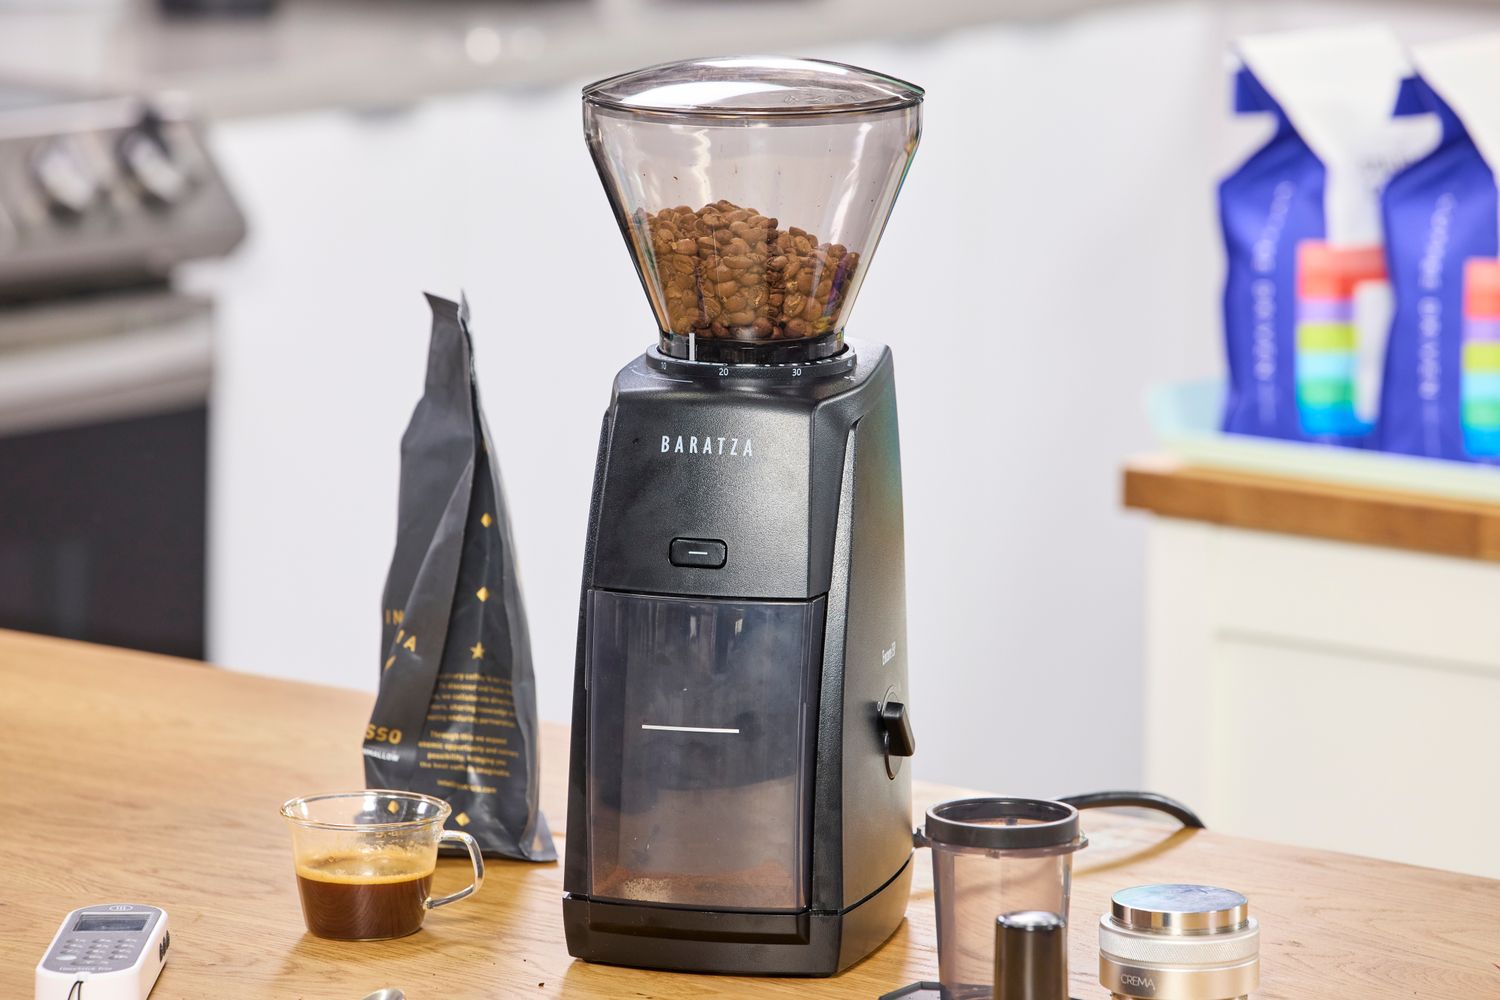
9. Hand Grinders: Freshness Over Weight
If you’re carrying a pour-over or an AeroPress but using pre-ground coffee from three months ago, you’re doing yourself a disservice. Oxidation is the enemy of flavor. Using a compact hand grinder like the VSSL Java or MiiR allows you to grind your beans fresh every morning. Grinding your beans on-site is the single best way to maximize flavor extraction in the outdoors. It adds about 200g to your pack, but the sensory payoff is immense.
10. Thermal Insulation
The fastest way to ruin a great brew is to let the mountain air turn it lukewarm in two minutes. For solo trips, titanium mugs like those from Snow Peak are ultralight but lose heat quickly. If you have the space, a double-wall vacuum-insulated mug is worth every gram. It ensures that your hard-earned coffee stays piping hot while you’re packing up your tent.
Section 5: Leave No Trace & Sustainable Brewing
As outdoor enthusiasts, our playground is a privilege, not a right. Coffee grounds might seem "natural," but they are highly acidic and can disrupt local soil pH and wildlife behavior.
- Pack it In, Pack it Out: Always carry a small "trash" dry bag for your used grounds and filters.
- The Mesh Advantage: Tools like the X-Brew feature reusable stainless steel mesh filters. This isn't just a gear hack; it's a sustainability hack that eliminates the need for paper waste.
- Scrape, Don't Rinse: When cleaning your pot or press, scrape the grounds into your trash bag rather than rinsing them into a nearby stream. Even "biodegradable" soap should never be used directly in a water source.
FAQ: Common Camp Coffee Questions
Q: Is instant coffee ever worth it? A: Absolutely. In 2026, brands like Swift and Alpine Start have elevated instant coffee using freeze-drying techniques that preserve the bean's origin notes. For "moving fast and light," a high-end instant is often better than a poorly executed Cowboy coffee.
Q: How do I keep my coffee beans fresh on a multi-day trek? A: Store them in a vacuum-sealed bag or a small airtight container (like a Nalgene bottle). Keep them away from direct sunlight and the bottom of your pack where they might be crushed.
Q: Can I use river water for my coffee? A: Only if you boil it for at least one minute (longer at high altitudes) or filter it through a reliable purifier first. Coffee doesn't kill Giardia!
The Ultimate Camp Coffee Checklist
- [ ] The Beans: Freshly roasted, whole bean (if bringing a grinder) or medium-coarse grind.
- [ ] The Gear: Choose one (X-Brew, AeroPress, or DIY bags).
- [ ] The Heat: A reliable stove (Jetboil for speed, MSR PocketRocket for weight).
- [ ] The Water: 16:1 ratio (15g coffee to 8oz water).
- [ ] The Cleanup: A dedicated Ziploc for grounds and filters.
The next time you’re sitting on a log, watching the sun crest over a ridgeline, take a second to appreciate the brew in your hand. You didn't just make a drink; you engineered a moment of peak performance. Stay caffeinated, stay wild.