Quick Facts
- Materials Matter: Swapping 3/4-inch marine-grade plywood for composite flooring like the Rainier RV kit reduces weight by approximately 40% and eliminates the risk of rot.
- The 48V Advantage: Moving to a 48V electrical system allows for thinner, lighter wiring and supports peak surges up to 10kVA, making it the most efficient way to power off-grid climate control.
- Modular Foundation: A 16-gauge powder-coated steel foundation kit provides a structural skeleton that integrates L-track systems, allowing for a "bolt-on" interior that can be reconfigured in minutes.
- Advanced Shells: Aluminum Composite Material (ACM) panels are the professional choice for wall cladding because they offer zero moisture absorption and a higher strength-to-weight ratio than Baltic Birch.
The Weight-to-Adventure Ratio: Why Lightweight Matters
I’ve spent the better part of a decade living out of various rigs, from beat-up trucks to high-spec Sprinters, and if there’s one lesson I’ve learned the hard way, it’s this: your van is not a house.
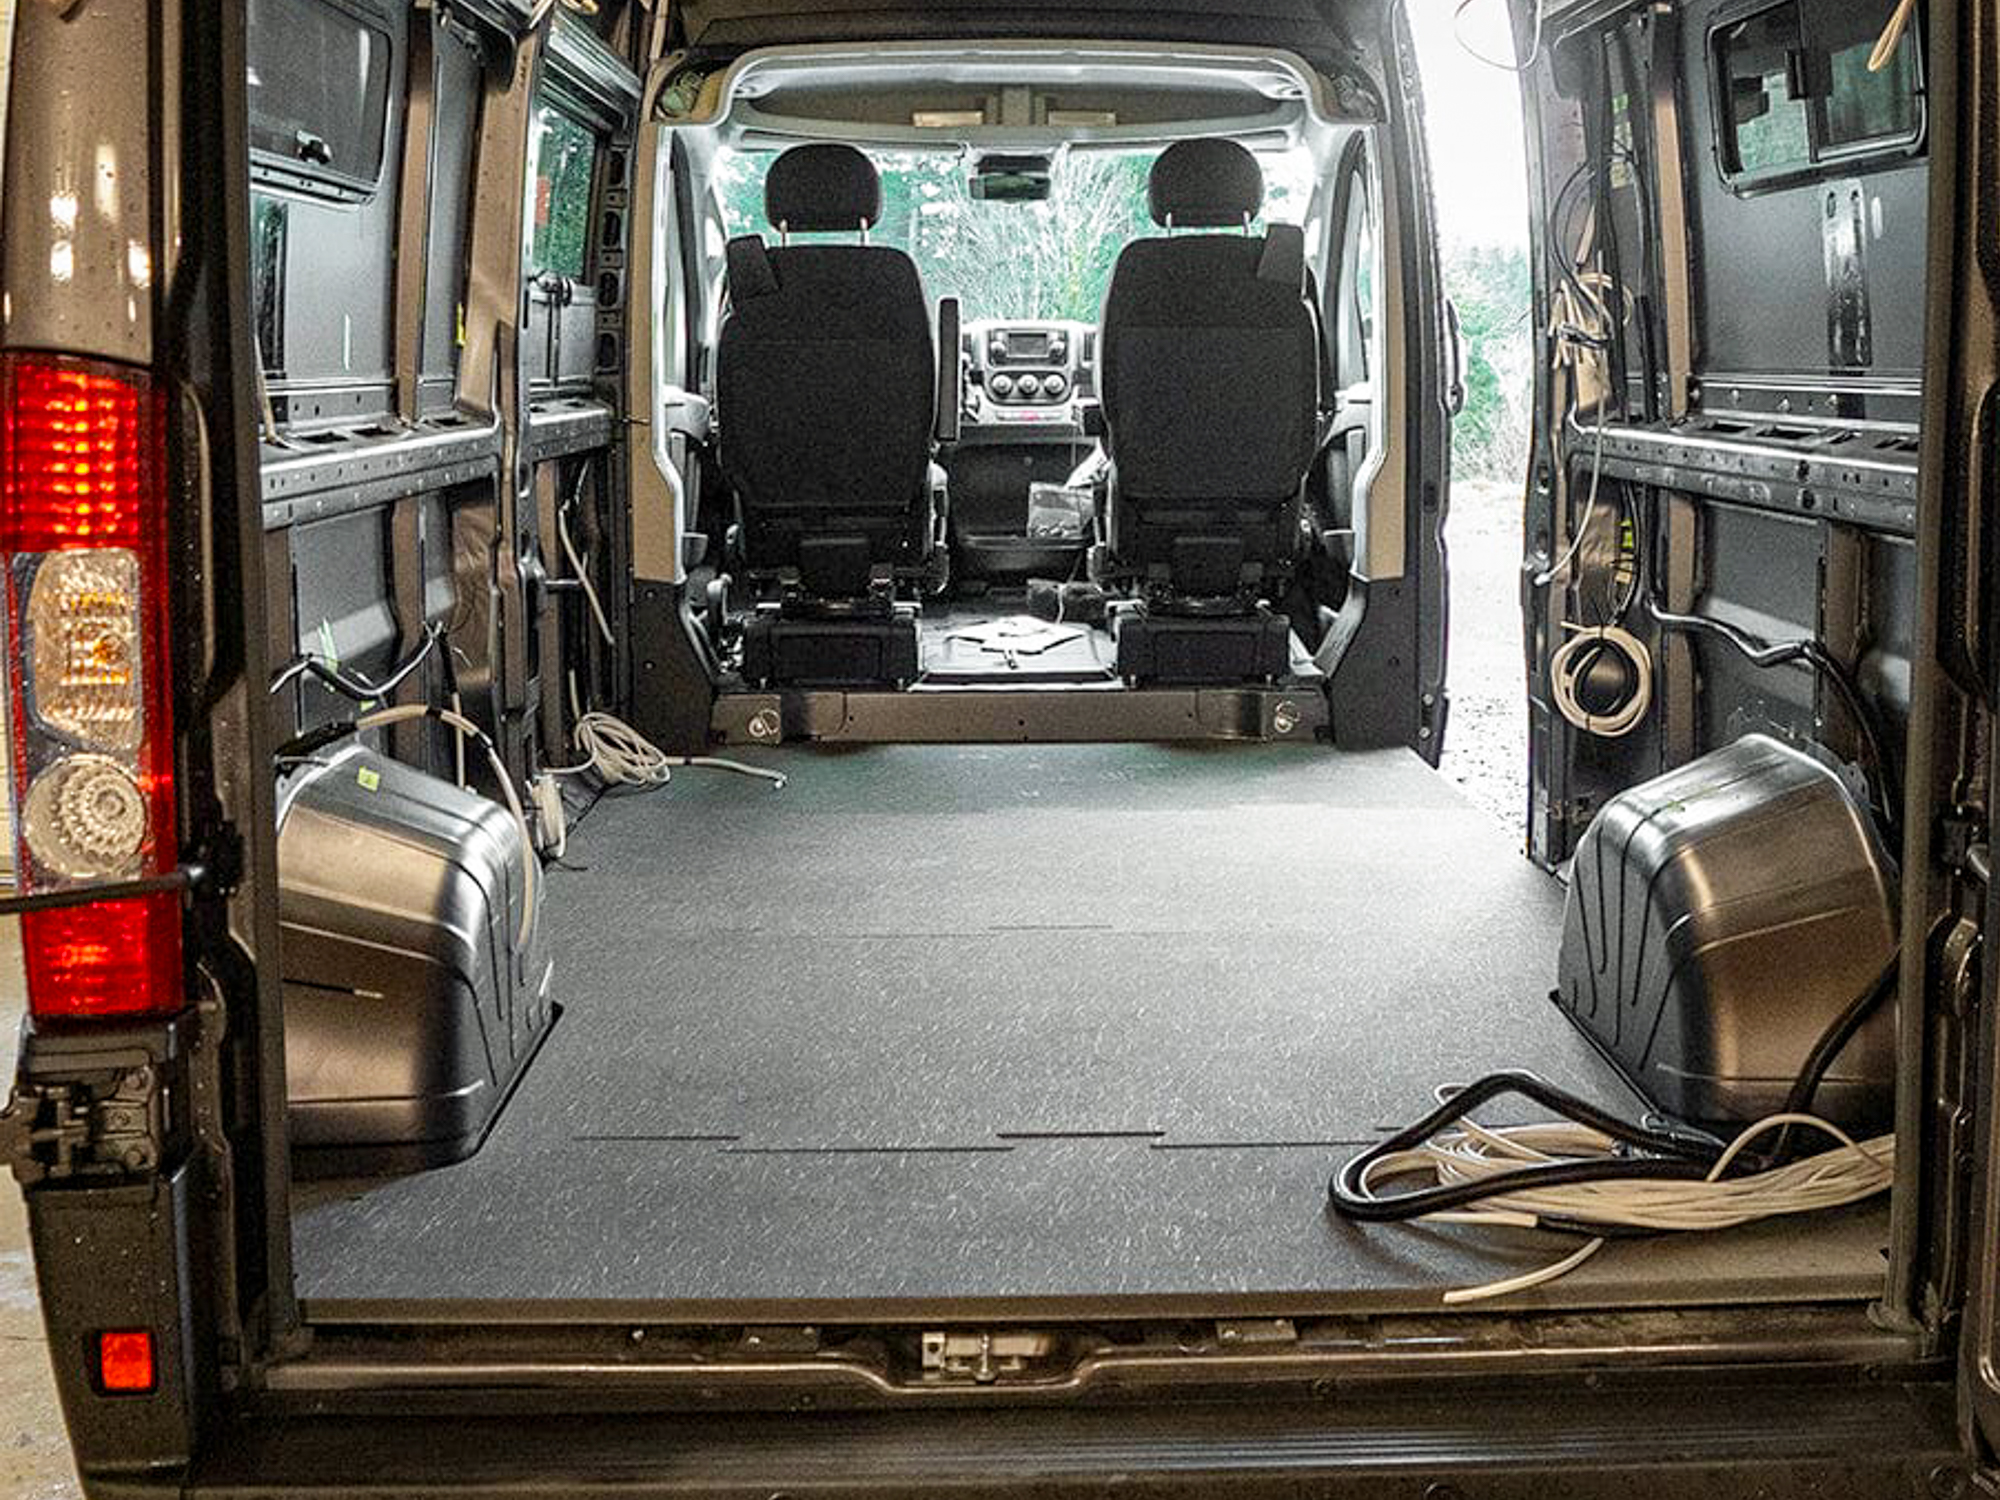
When people start their first DIY build, they often default to what they know—home construction. They head to the big-box hardware store, load up on 2x4s and heavy plywood, and essentially build a tiny wooden cabin inside a moving vehicle. By the time they add water, gear, and fuel, they’re maxing out their Gross Vehicle Weight Rating (GVWR). The result? A van that handles like a wet sponge, struggles on mountain passes, and rattles apart after six months of washboard roads.
The "Wooden House" mentality is the enemy of adventure. To build a rig that actually lasts—and one that doesn't kill your fuel economy—you need to think like an aerospace engineer, not a carpenter. We’re talking about 16-gauge steel, composite panels, and modularity. In this guide, I’m breaking down the exact components you need to build a professional-grade, lightweight, and modular interior that’s ready for the long haul.
The Foundation: Building the Internal Skeleton
The biggest mistake DIYers make is drilling dozens of holes directly into the van’s thin sheet metal chassis to mount furniture. Not only does this invite rust, but it also creates permanent "hot spots" for structural failure. Instead of DIY wood framing, the modern approach uses a dedicated steel foundation kit.
I recommend the Lost Hiway Transit Builder Foundation Kit. This system uses 16-gauge powder-coated steel that bolts into existing factory holes. It effectively creates a "skeleton" for your van. This skeleton handles the structural load, so your cabinets aren't just hanging off the walls—they’re integrated into the vehicle’s frame.
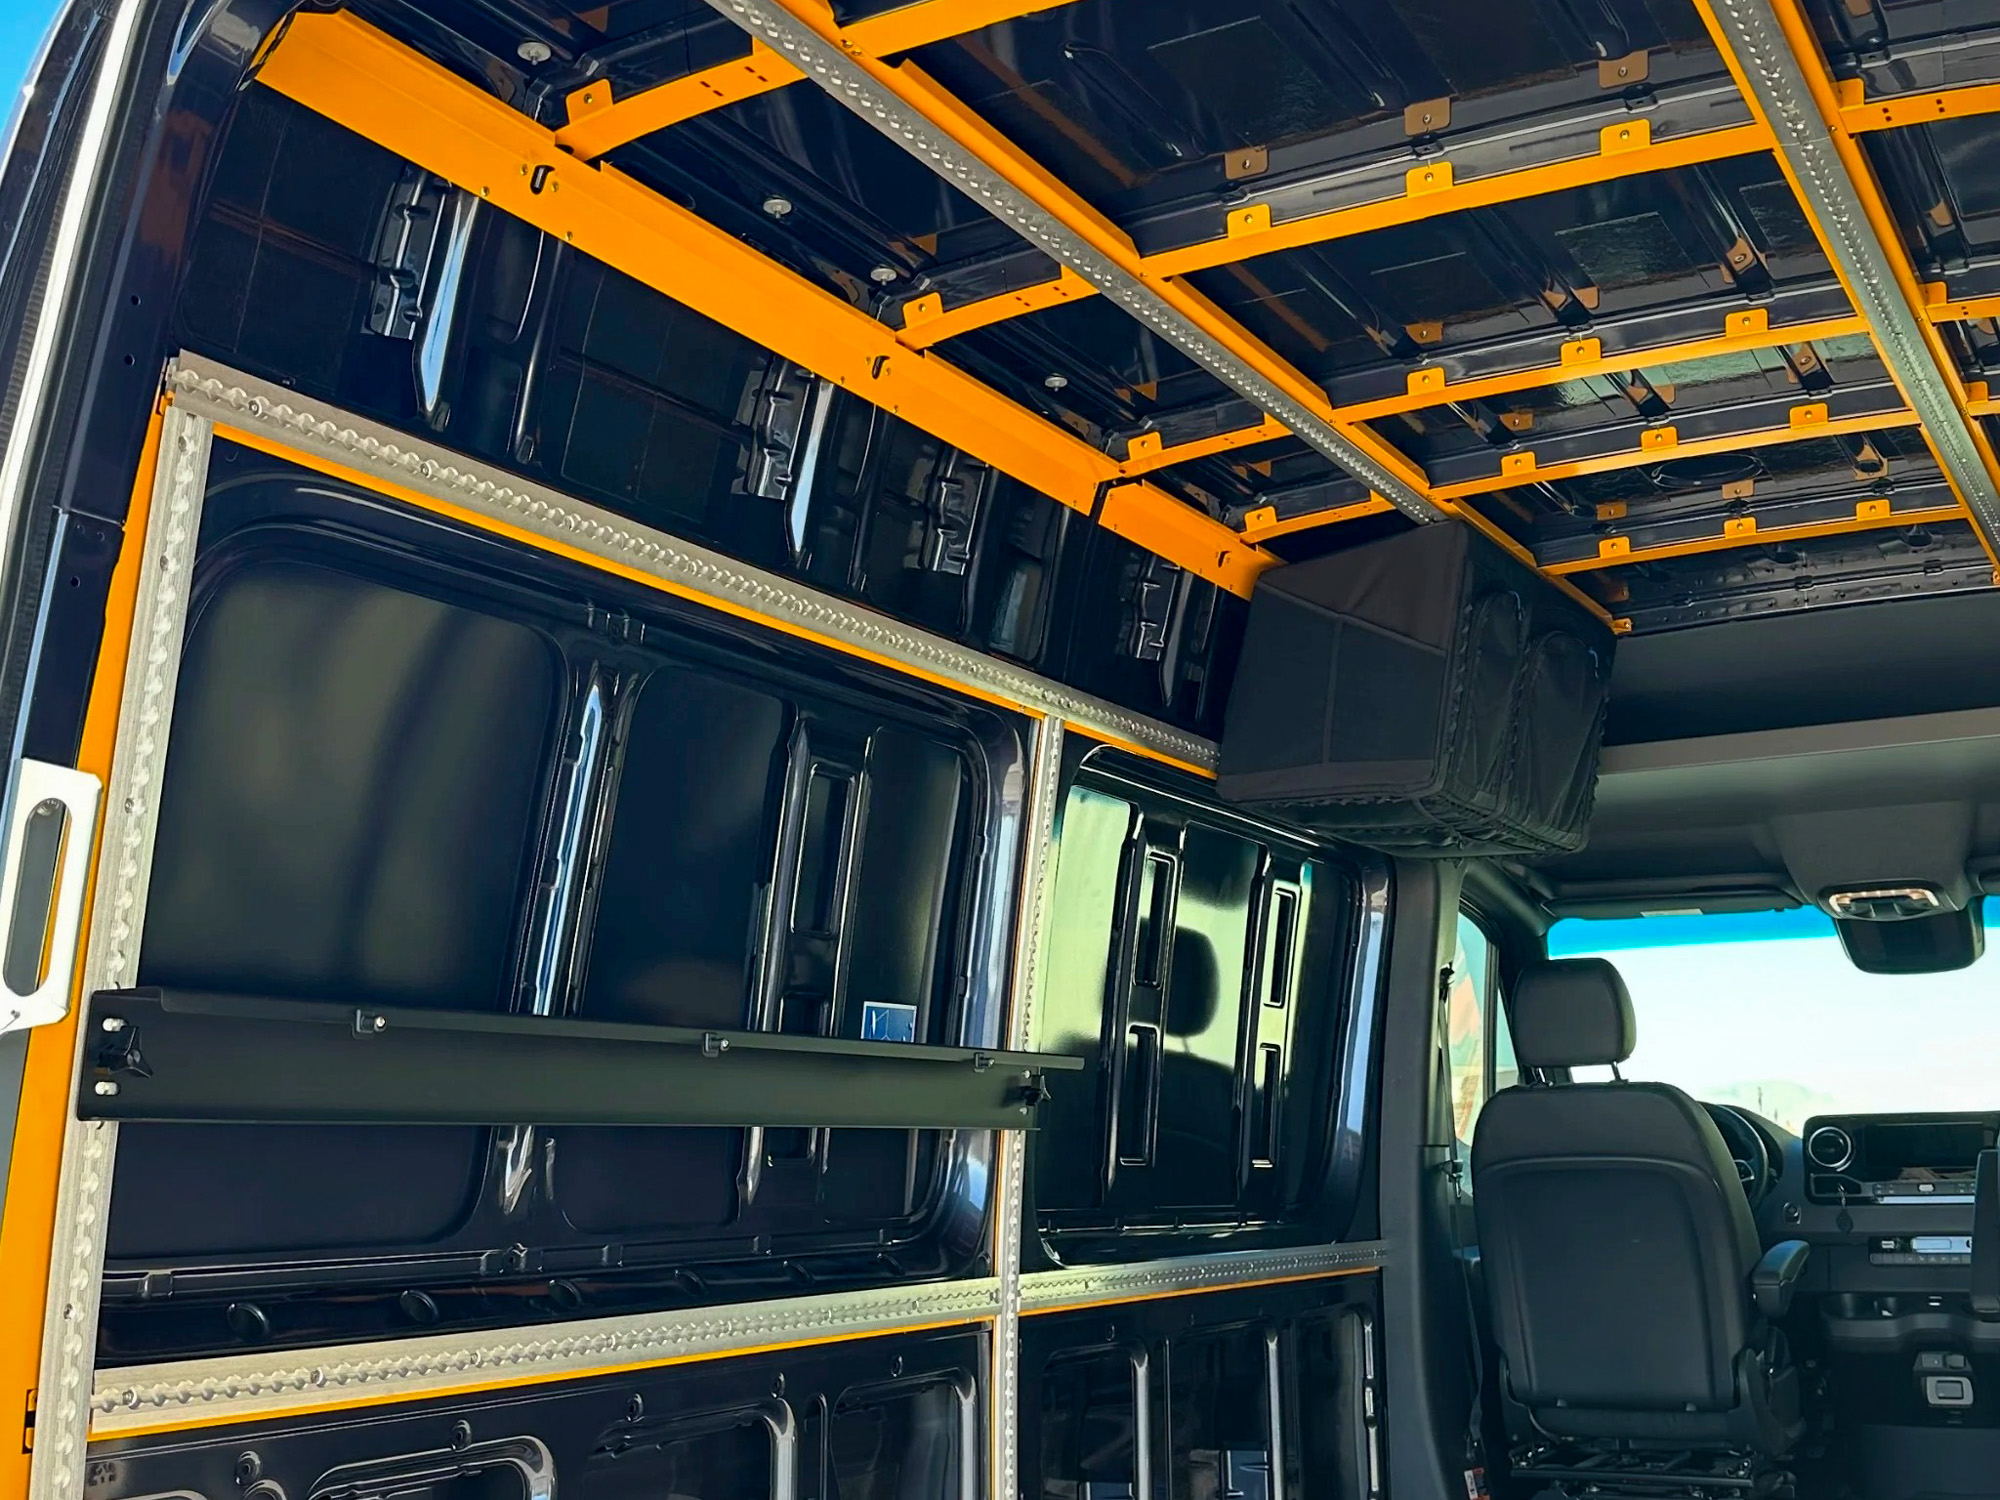
Modularity 101: The Power of L-Track
The real magic happens when you integrate L-track (logistic track) into this steel foundation. L-track is the industry standard for securing cargo in planes and trucks. By mounting it to your floor and walls, you turn your van into a Lego set.
Want to remove your bed platform to haul a motorcycle this weekend? Unbolt the fittings. Need to move your storage bench six inches forward to accommodate a new fridge? Done in five minutes. This modularity prevents the "locked-in" feeling of traditional builds and ensures your van can evolve with your needs.
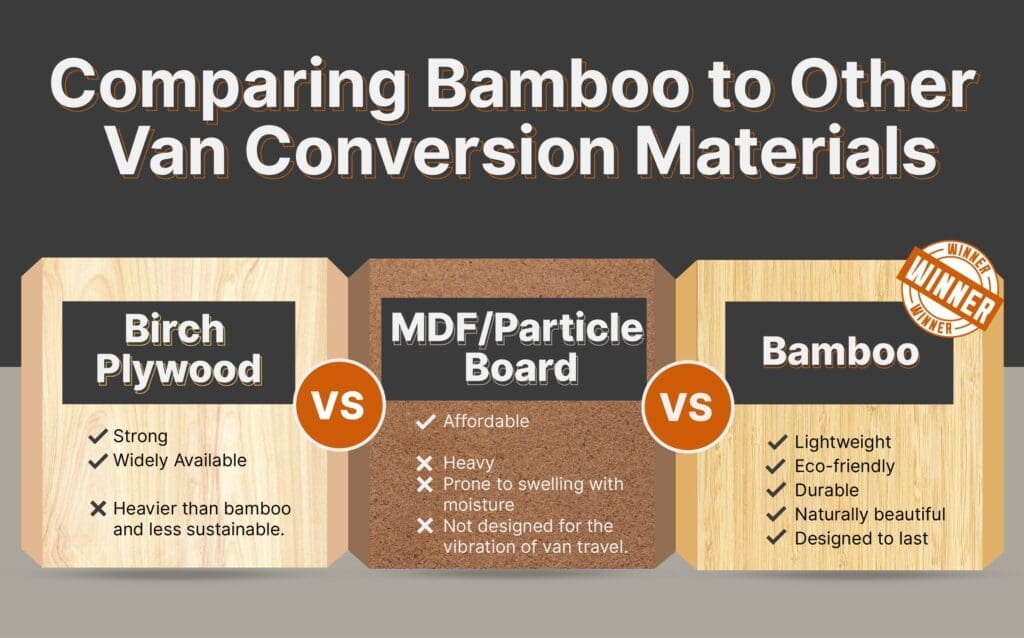
Flooring: Lightweight Composites vs. Marine Plywood
Flooring is often the heaviest single component in a van. Traditional builds use 3/4-inch marine-grade plywood, which is incredibly dense and heavy. More importantly, wood is organic. Even "marine-grade" wood can eventually succumb to moisture, mold, and rot in the high-condensation environment of a campervan.
The professional solution is a composite flooring system, specifically the Rainier RV Flooring System. This isn't just a piece of plastic; it’s a high-tech sandwich of fiberglass-reinforced polyurethane foam.
Pro Tip: Composite flooring systems like the Rainier RV kit are approximately 40% lighter than standard 3/4-inch marine-grade plywood while remaining completely impervious to moisture and rot.
When you install a pre-cut composite kit, you aren't just saving weight; you’re saving days of frustration trying to scribe wood to fit the complex curves of a van floor. For the surface finish, I always go with Lonseal vinyl. It’s used in hospitals and aircraft for a reason: it’s nearly indestructible, easy to clean, and provides an extra layer of moisture protection.
Wall Panels & Insulation: Thermal Efficiency Without the Bulk
Once the floor and skeleton are in, you need to skin the walls. While Baltic Birch is the "aesthetic" choice on Instagram, it’s heavy and prone to warping.
Aluminum Composite Material (ACM) is the game-changer here. ACM consists of two thin sheets of aluminum bonded to a polyethylene core. It’s incredibly stiff, perfectly flat, and—most importantly—it doesn't absorb a single drop of water.
Material Comparison: Walls & Ceilings
| Feature | Baltic Birch (1/4") | ACM (Aluminum Composite) |
|---|---|---|
| Weight | Moderate | Very Low |
| Moisture Resistance | Low (needs sealing) | 100% Waterproof |
| Durability | Prone to scratching/denting | High impact resistance |
| Installation | Requires heavy fasteners | Can be riveted or bolted |
| Maintenance | May warp over time | Remains dimensionally stable |
For insulation, skip the spray foam. It’s messy, permanent, and can actually trap moisture against your chassis if not applied perfectly. I use 3M Thinsulate (SM600L). It’s hydrophobic (doesn't hold water), easy to install with a bit of 3M 90 spray adhesive, and offers excellent acoustic dampening.
To prevent "thermal bridging"—where the cold from the van's exterior metal transfers to your interior—ensure you use a thermal break material (like thin foam strips) between the steel foundation and your ACM panels.
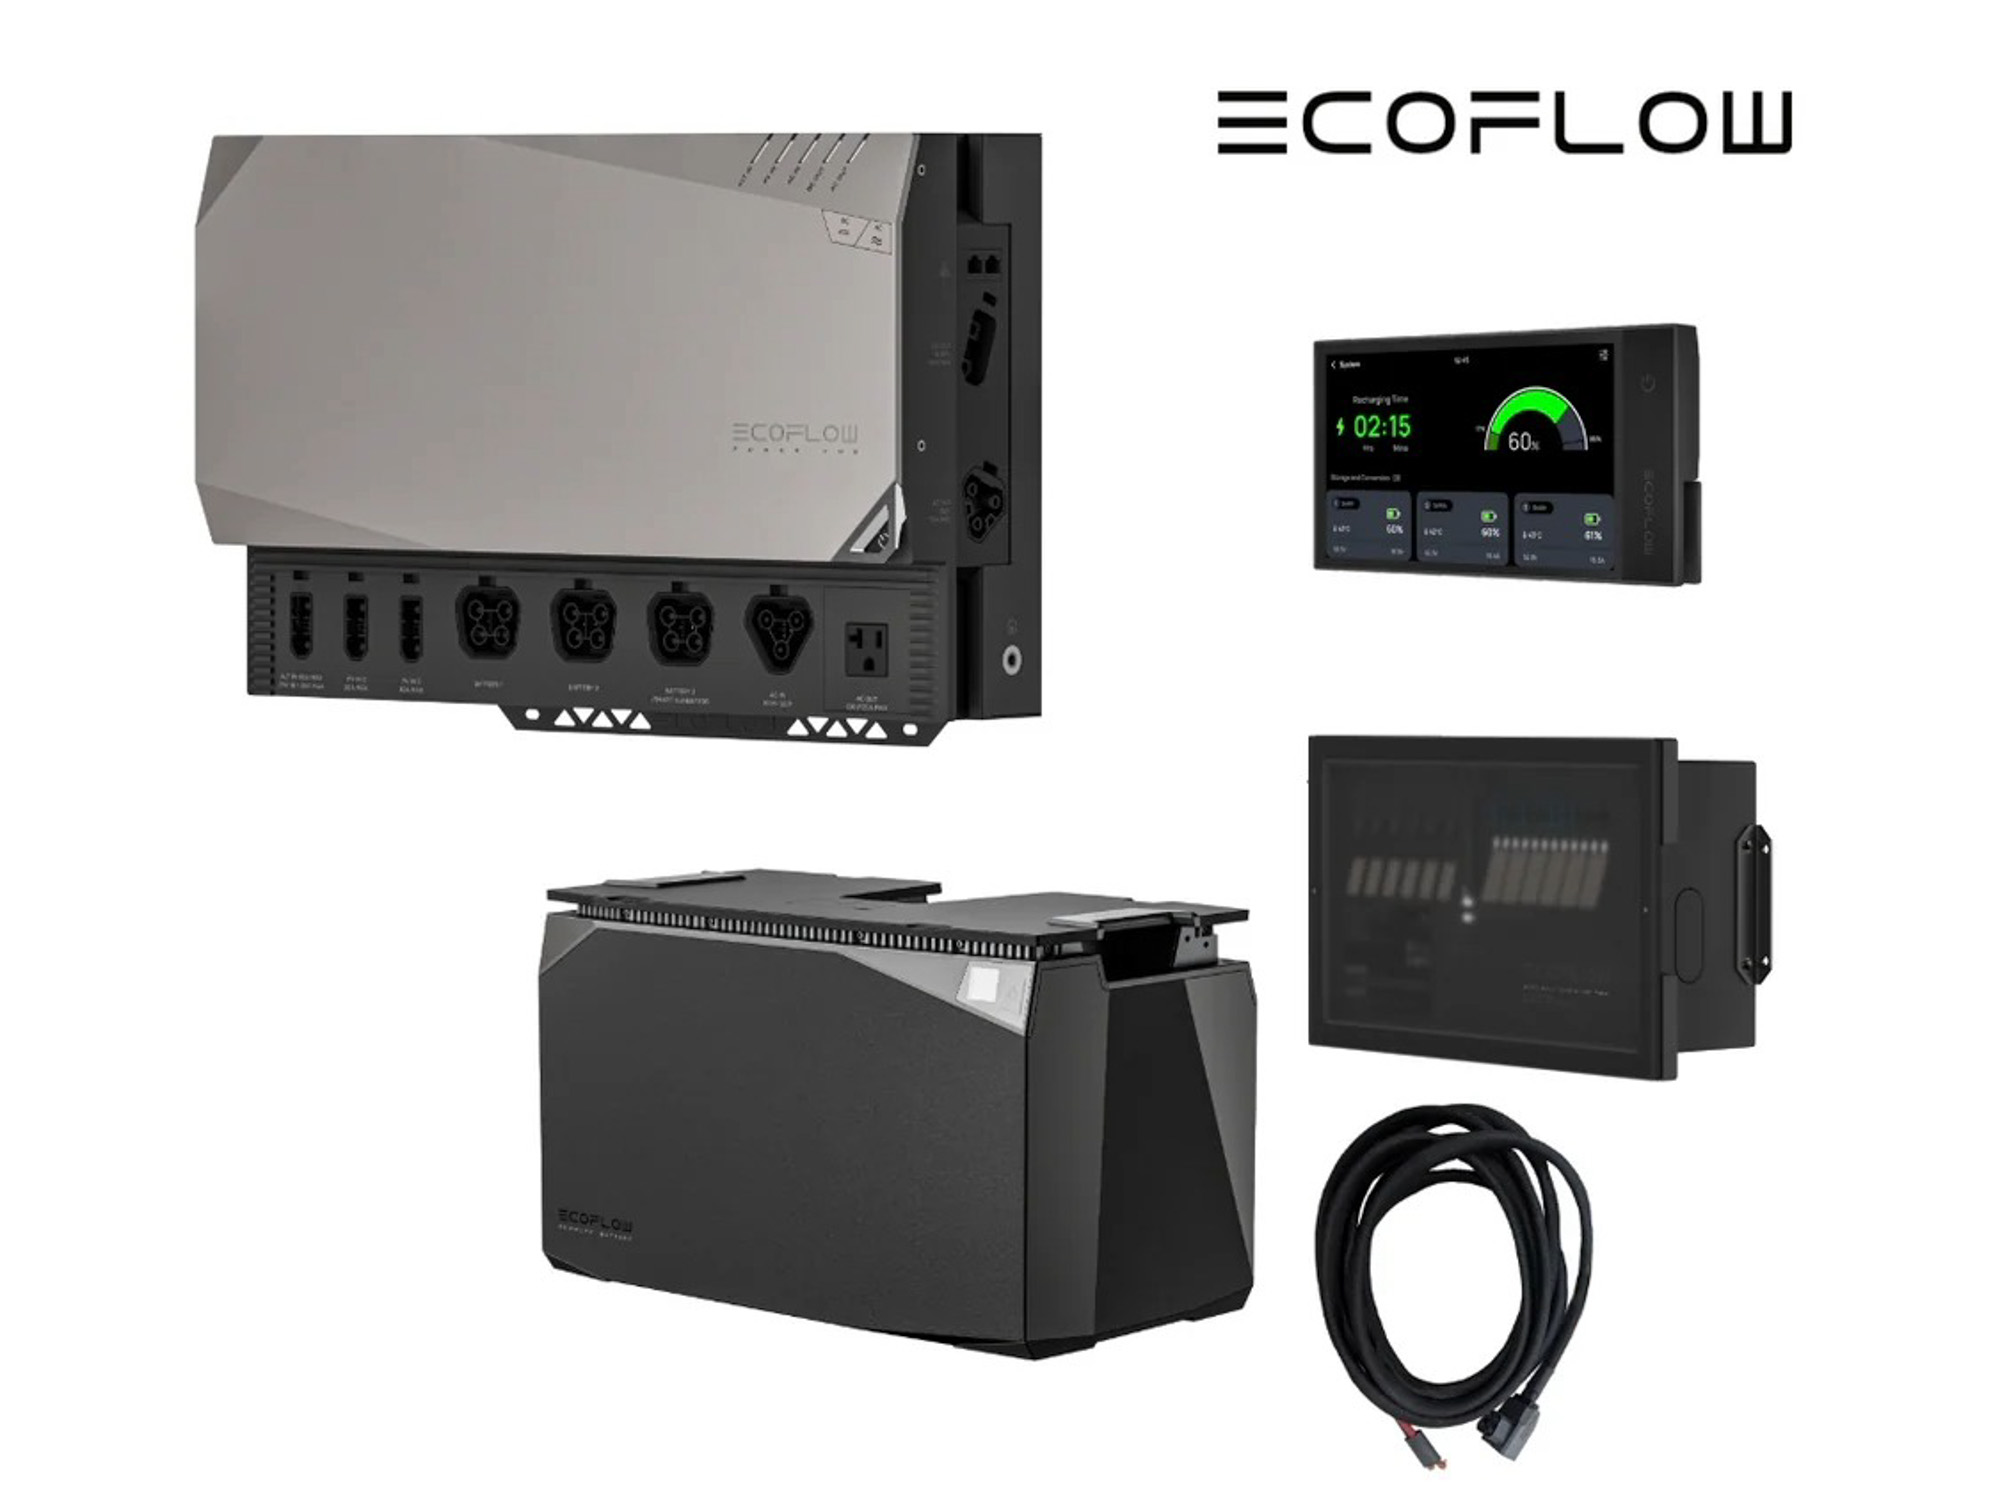
Electrical Evolution: The 48V Power Revolution
If you’re planning on running an induction cooktop or a DC air conditioner, the old 12V paradigm is holding you back. Higher voltage reduces amperage, which means you can use significantly thinner wiring. This reduces weight, generates less heat, and virtually eliminates voltage drop over long wire runs.
A 48V DC-to-DC system is the gold standard for modern off-grid builds. These systems can support peak surges up to 10kVA, providing enough overhead to run a climate control system all night without breaking a sweat.
Instead of spending weeks crimping hundreds of lugs and mounting individual busbars, I now point builders toward the EcoFlow Power Kit Gen 2. This is a 5-in-1 Power Hub that replaces the inverter, AC/DC chargers, and solar controllers with one compact unit.
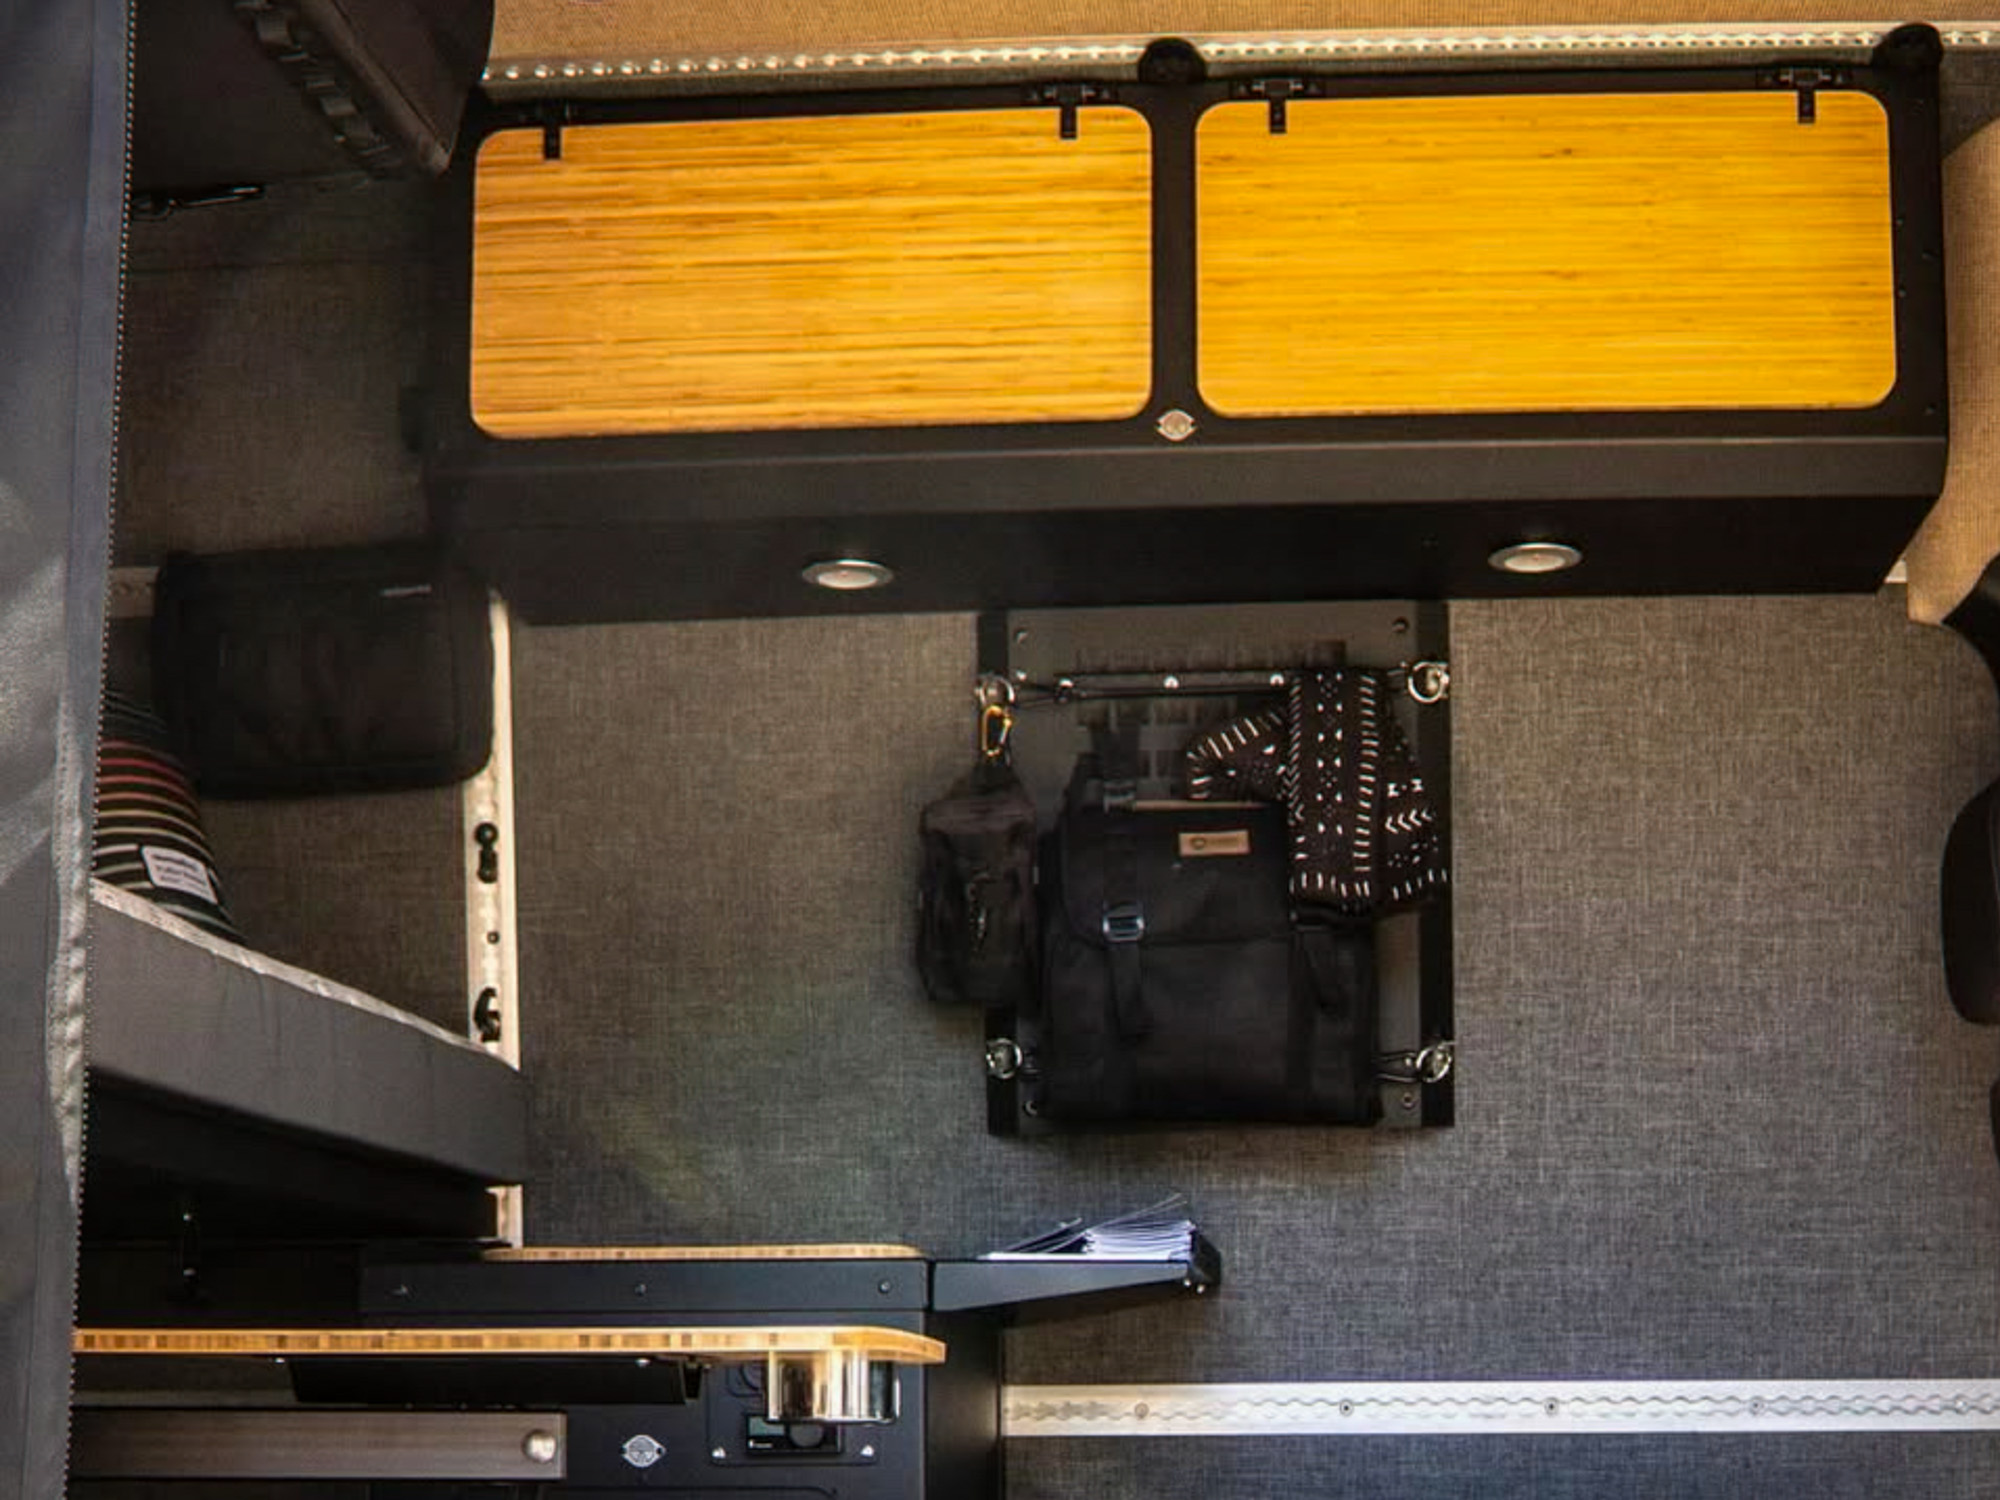
Lightweight Cabinetry: 80/20 Aluminum vs. Wood Boxes
In a traditional build, cabinets are heavy wooden boxes. In a lightweight build, cabinets are frames.
The 80/20 Extruded Aluminum system is the ultimate DIY modular component. It’s basically "Erector Set" for adults. By using T-slotted aluminum profiles, you can build a cabinet frame that is far stronger and lighter than wood. These frames won't warp, they won't expand in humidity, and they won't rattle apart because they're bolted, not nailed.
For the cabinet faces and counter surfaces, I prefer sustainable Bamboo. It’s denser and more durable than birch, meaning you can use thinner sheets (1/2" or even 3/8") to achieve the same structural integrity, saving even more weight.

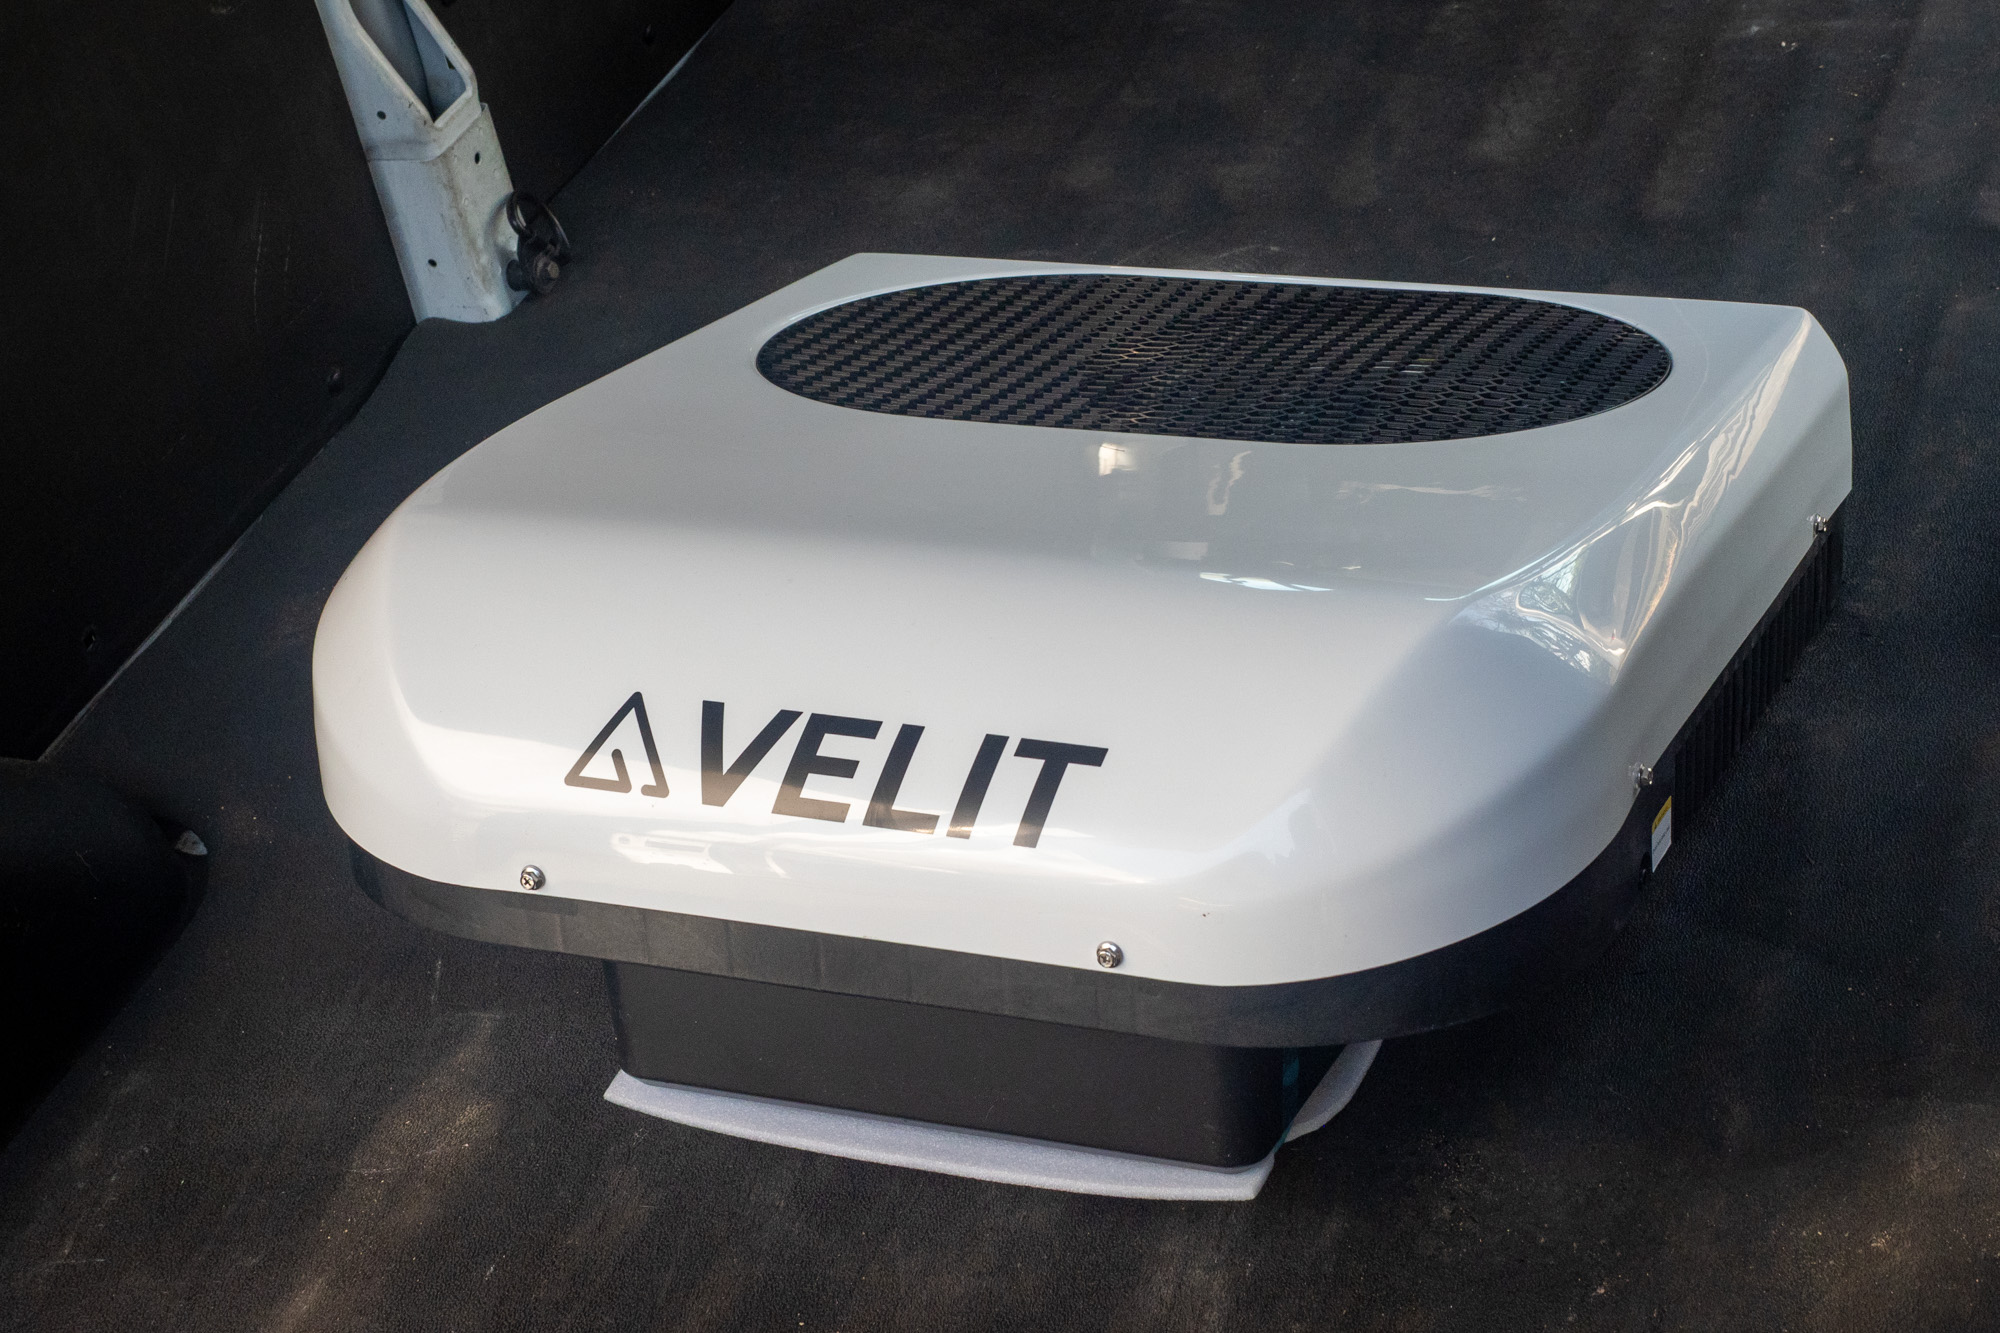
Climate Control: Slim-Profile Efficiency
Weight isn't just about what's inside the van; it’s about what’s on the roof. Keeping your center of gravity low is crucial for handling. Heavy, old-school rooftop AC units are aerodynamic nightmares and massive power hogs.
The Velit 2000R Mini is a breakthrough for lightweight builds. It provides 7,000 BTU of cooling while drawing as little as 240W on its lowest setting. Because it runs natively on 48V (or 12V/24V depending on the model), there’s no energy lost to an inverter.
For ventilation, the Maxxfan Deluxe remains the non-negotiable king. Its built-in rain shield allows you to leave the vent open even during a downpour, which is essential for managing the humidity that naturally builds up inside a small space.
Expert Advice: For heating, avoid unvented propane heaters. They dump massive amounts of moisture into the air, leading to mold. Stick to external-venting diesel or gasoline heaters like the Webasto or Espar units.
Windows and Privacy: The "Less is More" Approach
It’s tempting to put windows everywhere, but every window is a giant hole in your insulation. I recommend a "targeted" approach. Use high-quality glass like VWD (Van Windows Direct) or CR Laurence for specific areas—like a sliding door window or a small "bunk" window by the bed.
When installing, skip the cheap hardware store silicone. Use SikaFlex P2G or a similar automotive-grade adhesive. This ensures a permanent, leak-proof bond that can handle the vibrations and body flex of off-road driving.
Essential Upgrades for Handling
Once you've stripped the weight out of the interior, you need to ensure the chassis can handle the terrain. Even a lightweight build puts more stress on a van than its factory designers intended.
- Suspension: A Van Compass Topo 2.0 lift kit isn't just about looks; it adds much-needed ground clearance and improves damping for rough roads.
- Sound Deadening: Don't cover every square inch of the van in heavy butyl rubber (like Dynamat). You only need to cover about 25-30% of a flat metal panel to stop it from "ringing." Strategic placement of 80 mil Kilmat saves weight while still giving you that luxury-car silence.
FAQ
Q: Is a steel foundation kit harder to install than wood?
A: Actually, it's easier. Wood requires complex "scribing" to fit the van's curves. A foundation kit like the one from Lost Hiway is pre-engineered to fit your specific van model. If you can use a socket wrench, you can install the foundation in a few hours.
Q: Why is 48V better than 12V if my appliances are 12V?
A: You can still run 12V appliances via a DC-DC converter. The benefit of 48V is in the "backbone" of the system—the battery-to-inverter and battery-to-alternator connections. This is where the highest current flows. Using 48V keeps the heat down and the efficiency up.
Q: Isn't aluminum more expensive than wood?
A: Initially, yes. But when you factor in the longevity (no rot, no warping) and the fuel savings from a lighter build, aluminum and composites pay for themselves within the first two years of ownership.
Start Your Lightweight Build
Building a van is a massive undertaking, but choosing the right components from day one is the difference between a rig that feels like a compromise and one that feels like a professional expedition vehicle. Focus on the foundation, prioritize composites over wood, and embrace the 48V revolution. Your transmission—and your sense of adventure—will thank you.